This guide will walk you through the steps to create, build, publish, and view a form in Paxform.
Step 1: Start from the Dashboard
From the main Paxform Dashboard, locate the top-right corner.

Click Create New and select Create Form from the options.

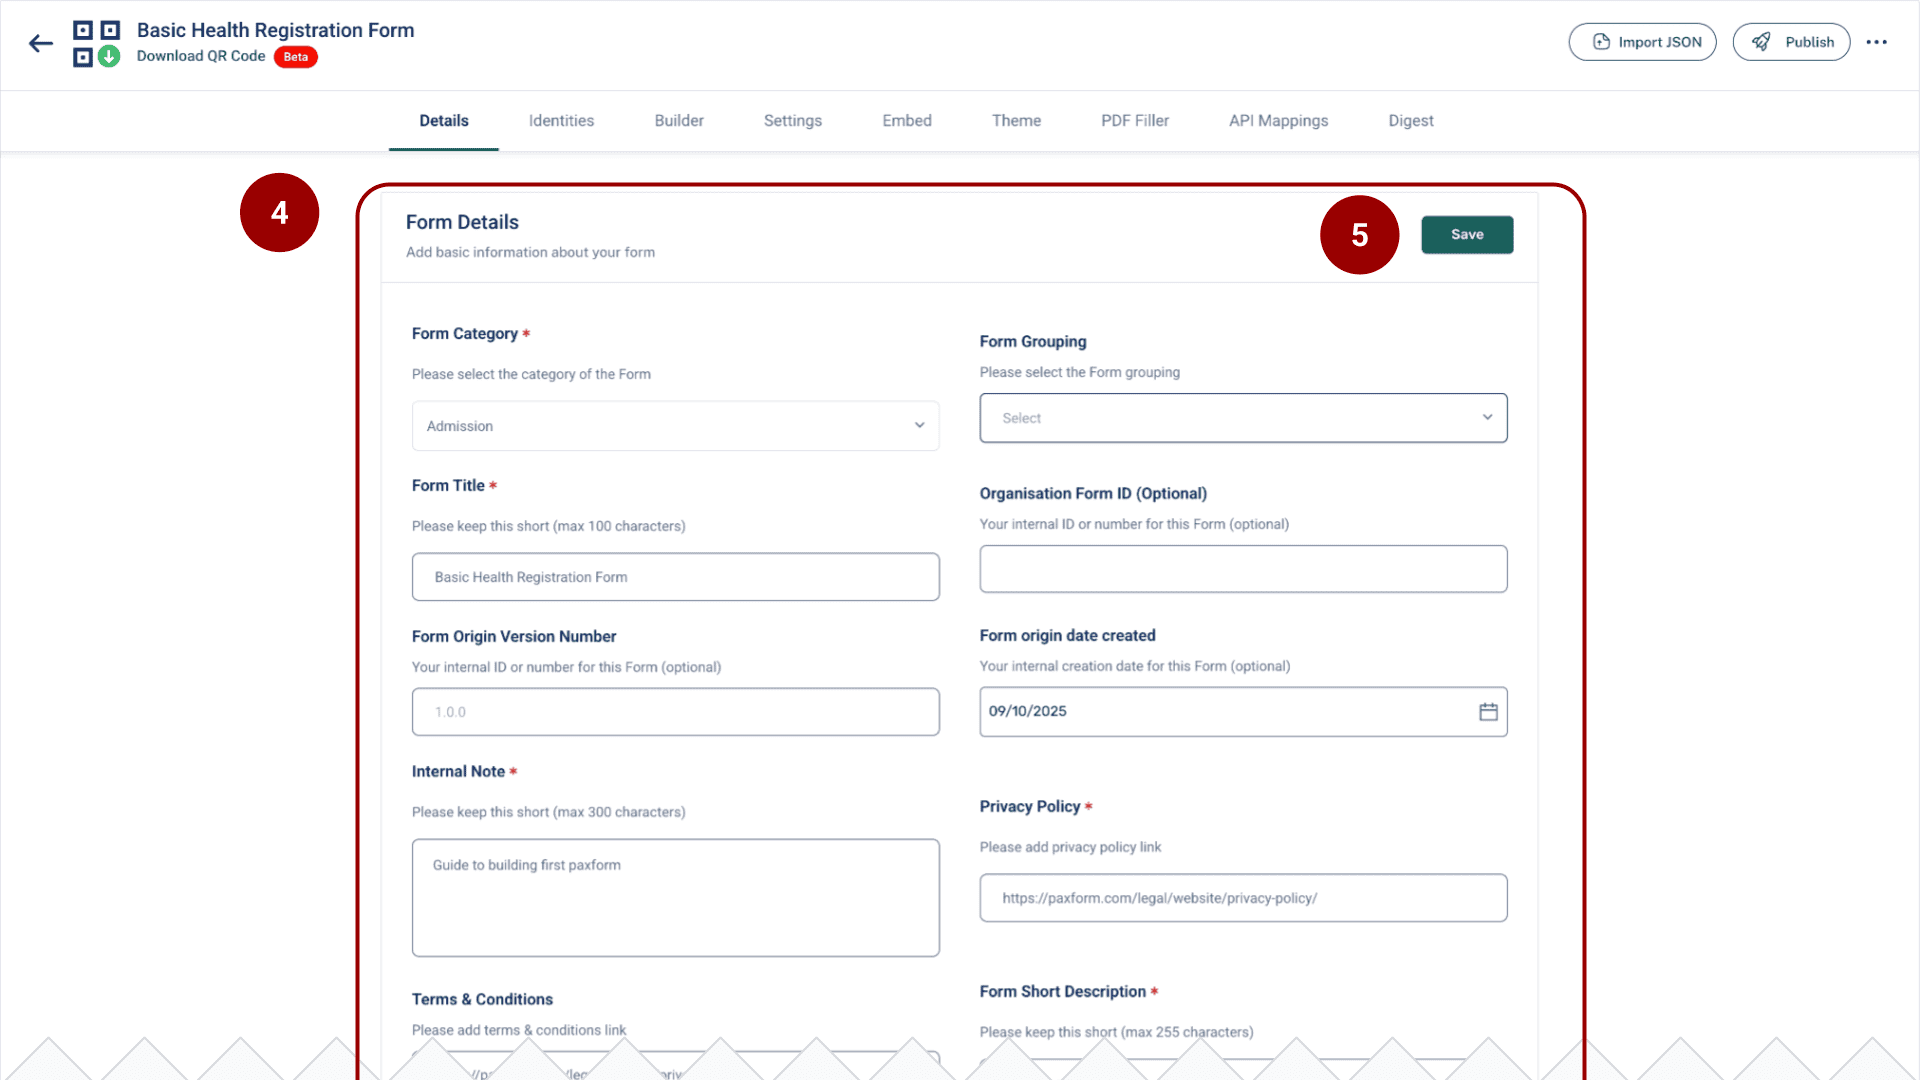
Step 2: Fill in Form Details
You will be taken to the Details tab of the new form.
Fill in all required fields, such as:
Form Category
Form Title
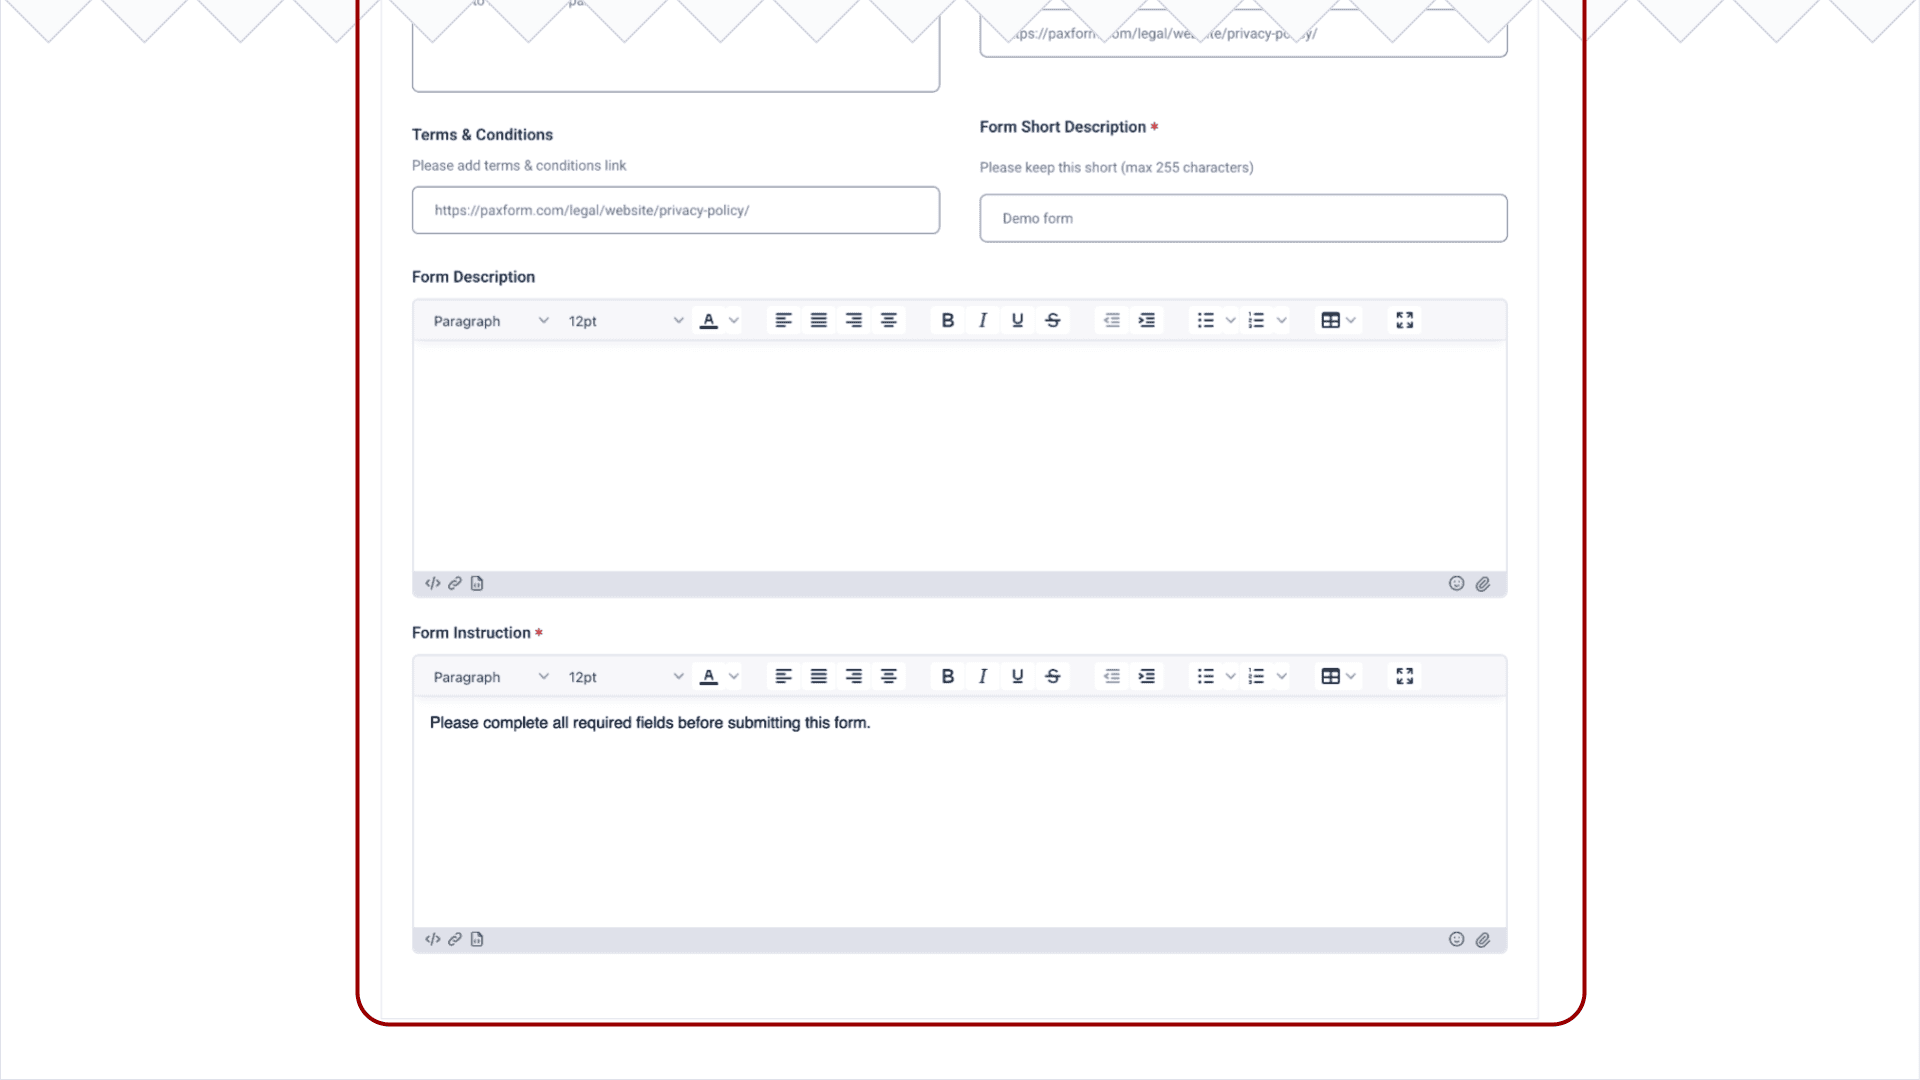
Privacy Policy
Terms & Conditions
Form InstructionClick the Save button in the top-right corner.
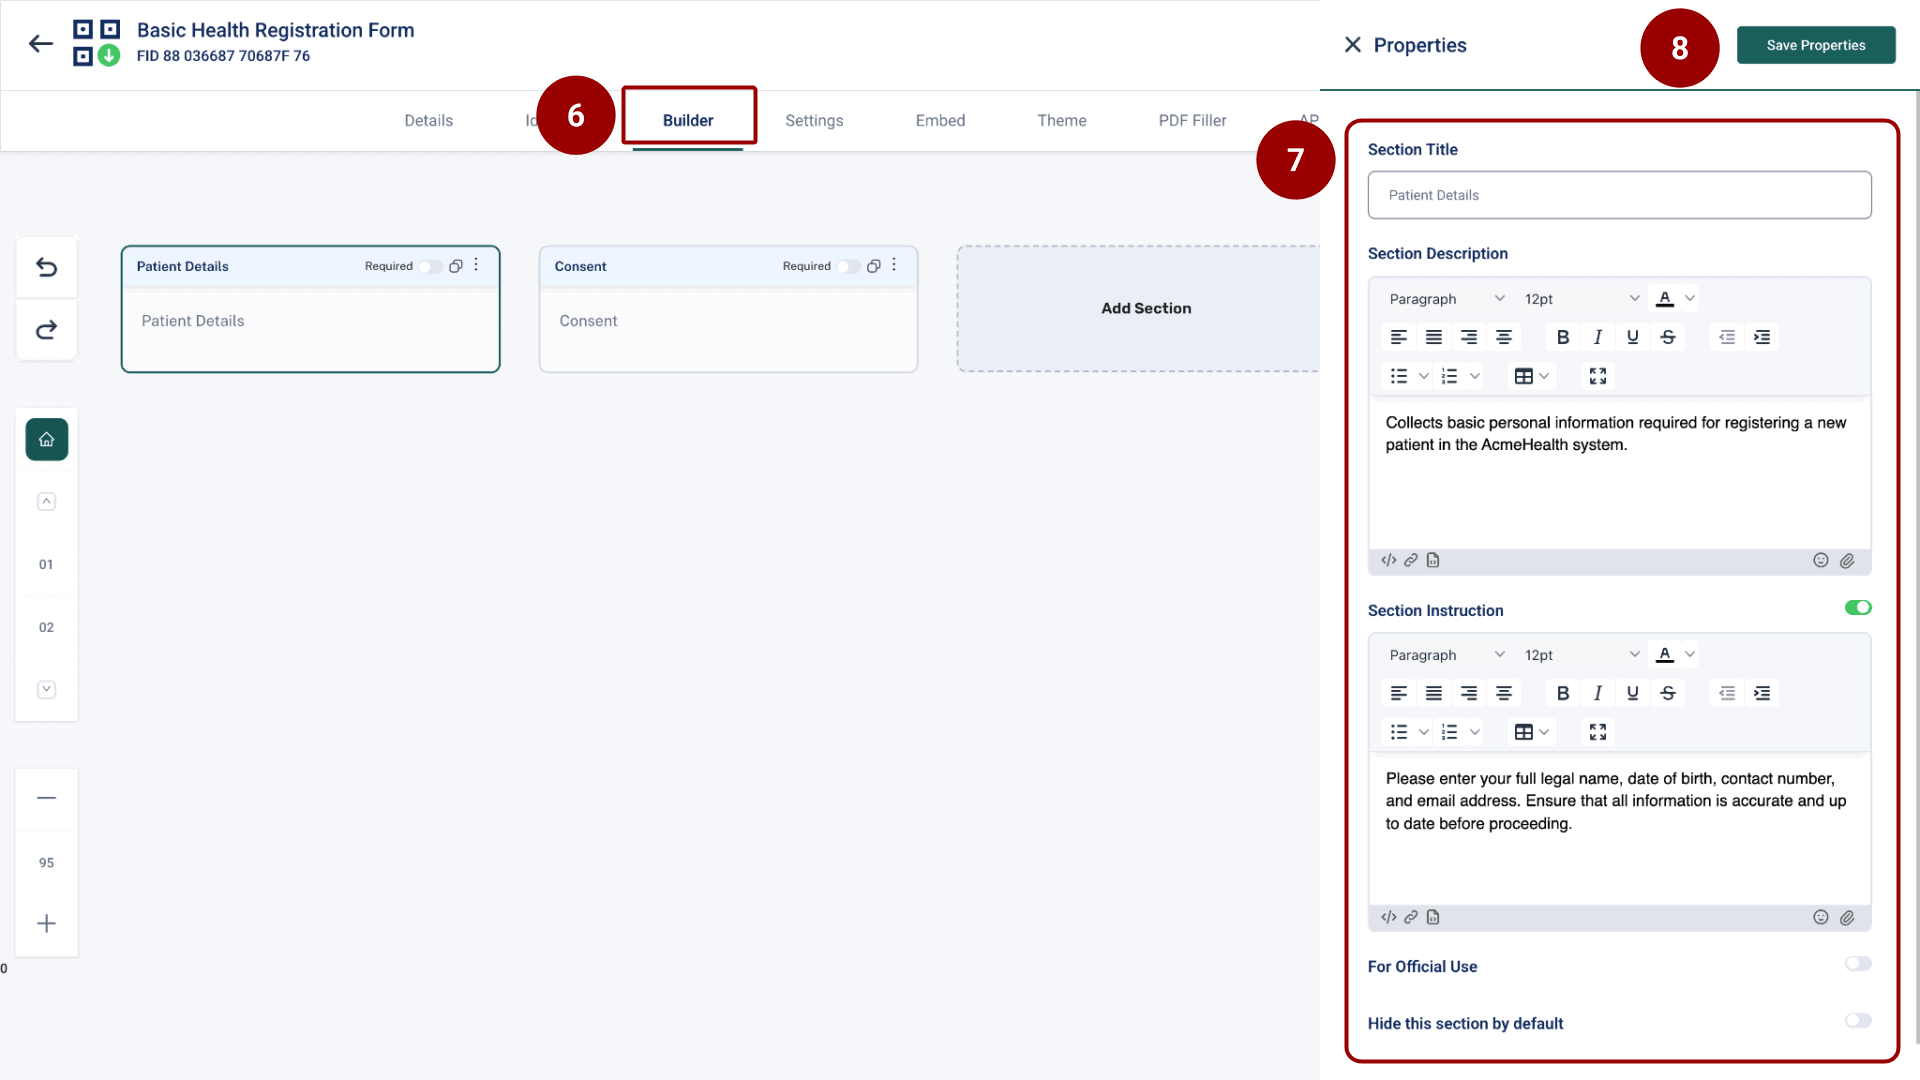
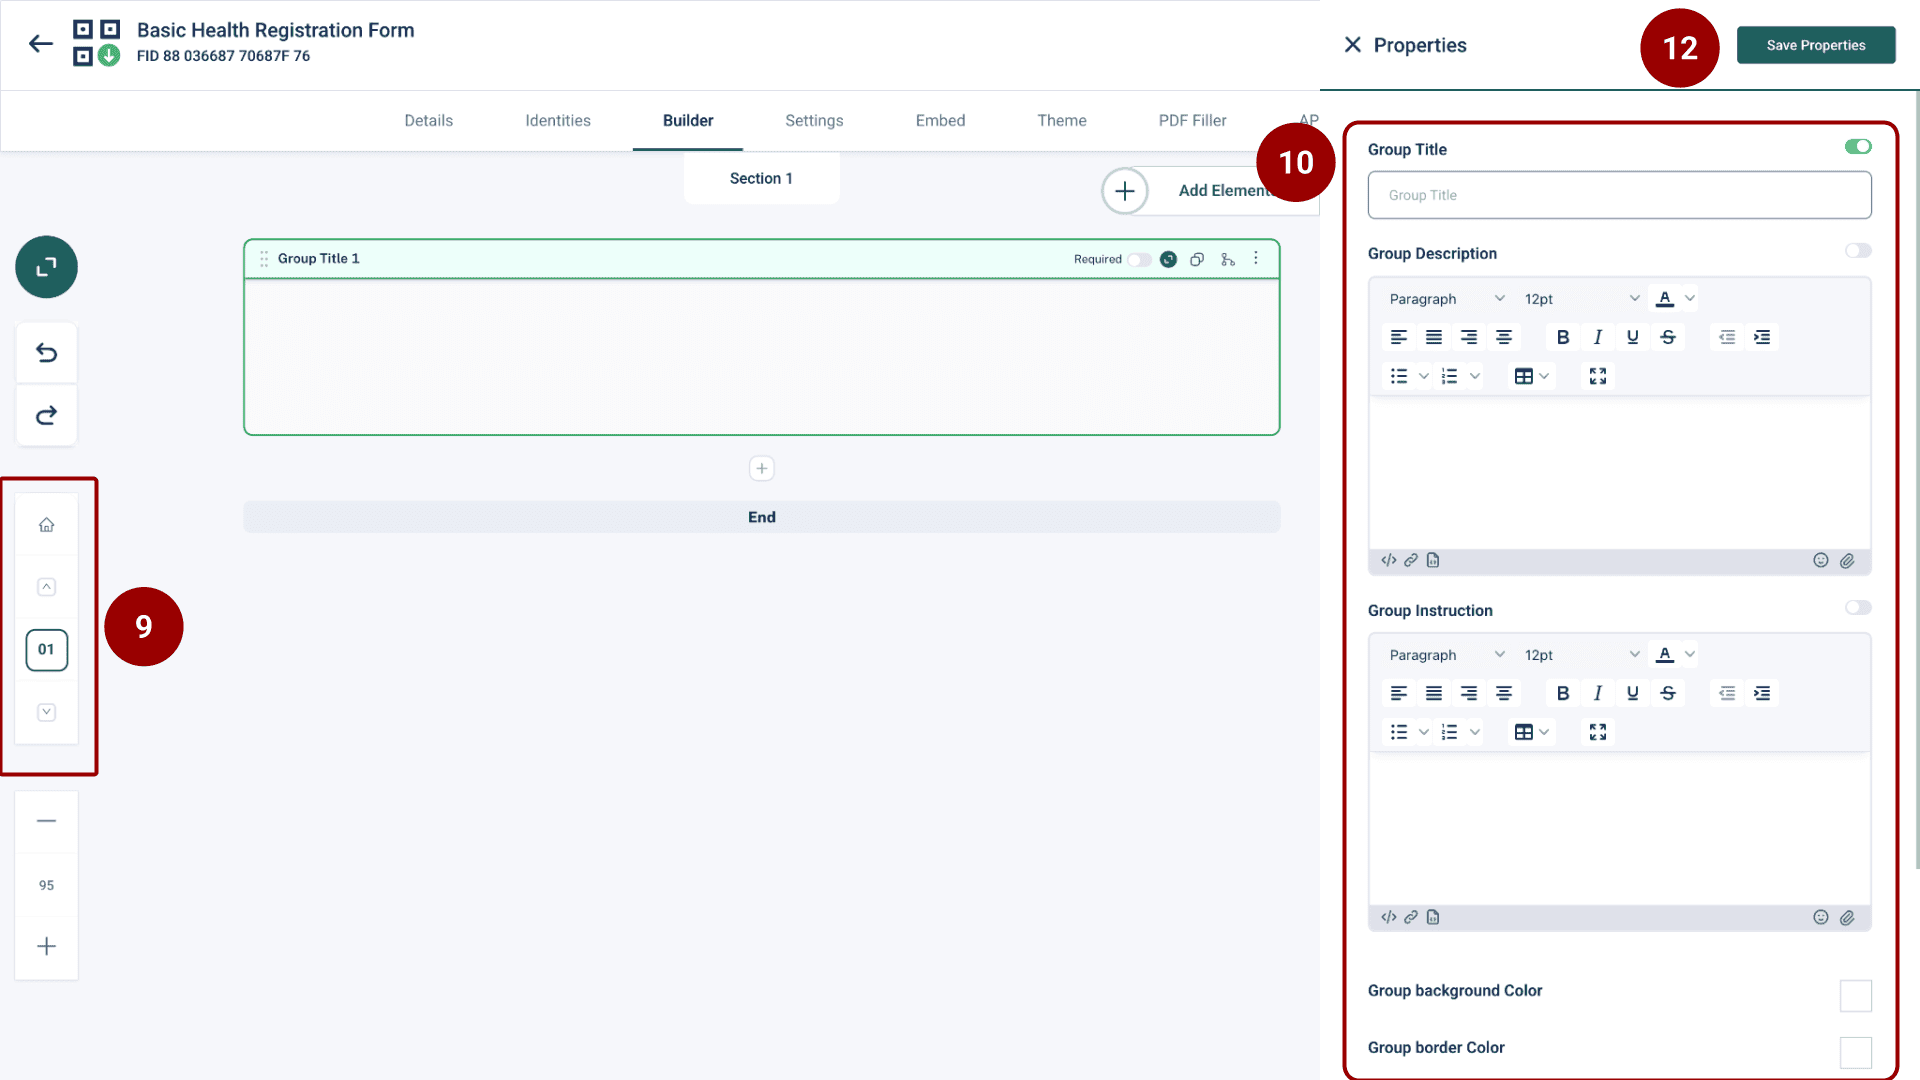
Navigate to the Builder tab.
Select a section and use the Properties panel on the right to fill in the Section Title and any accompanying description or instruction.
Click Save Properties. You can create multiple sections as needed.
Step 4: Define Groups within a Section
From the left pane select the section to work on
Update the group details in that section
The Properties panel will update to show Group Properties.
Fill in the Group details and click Save Properties.
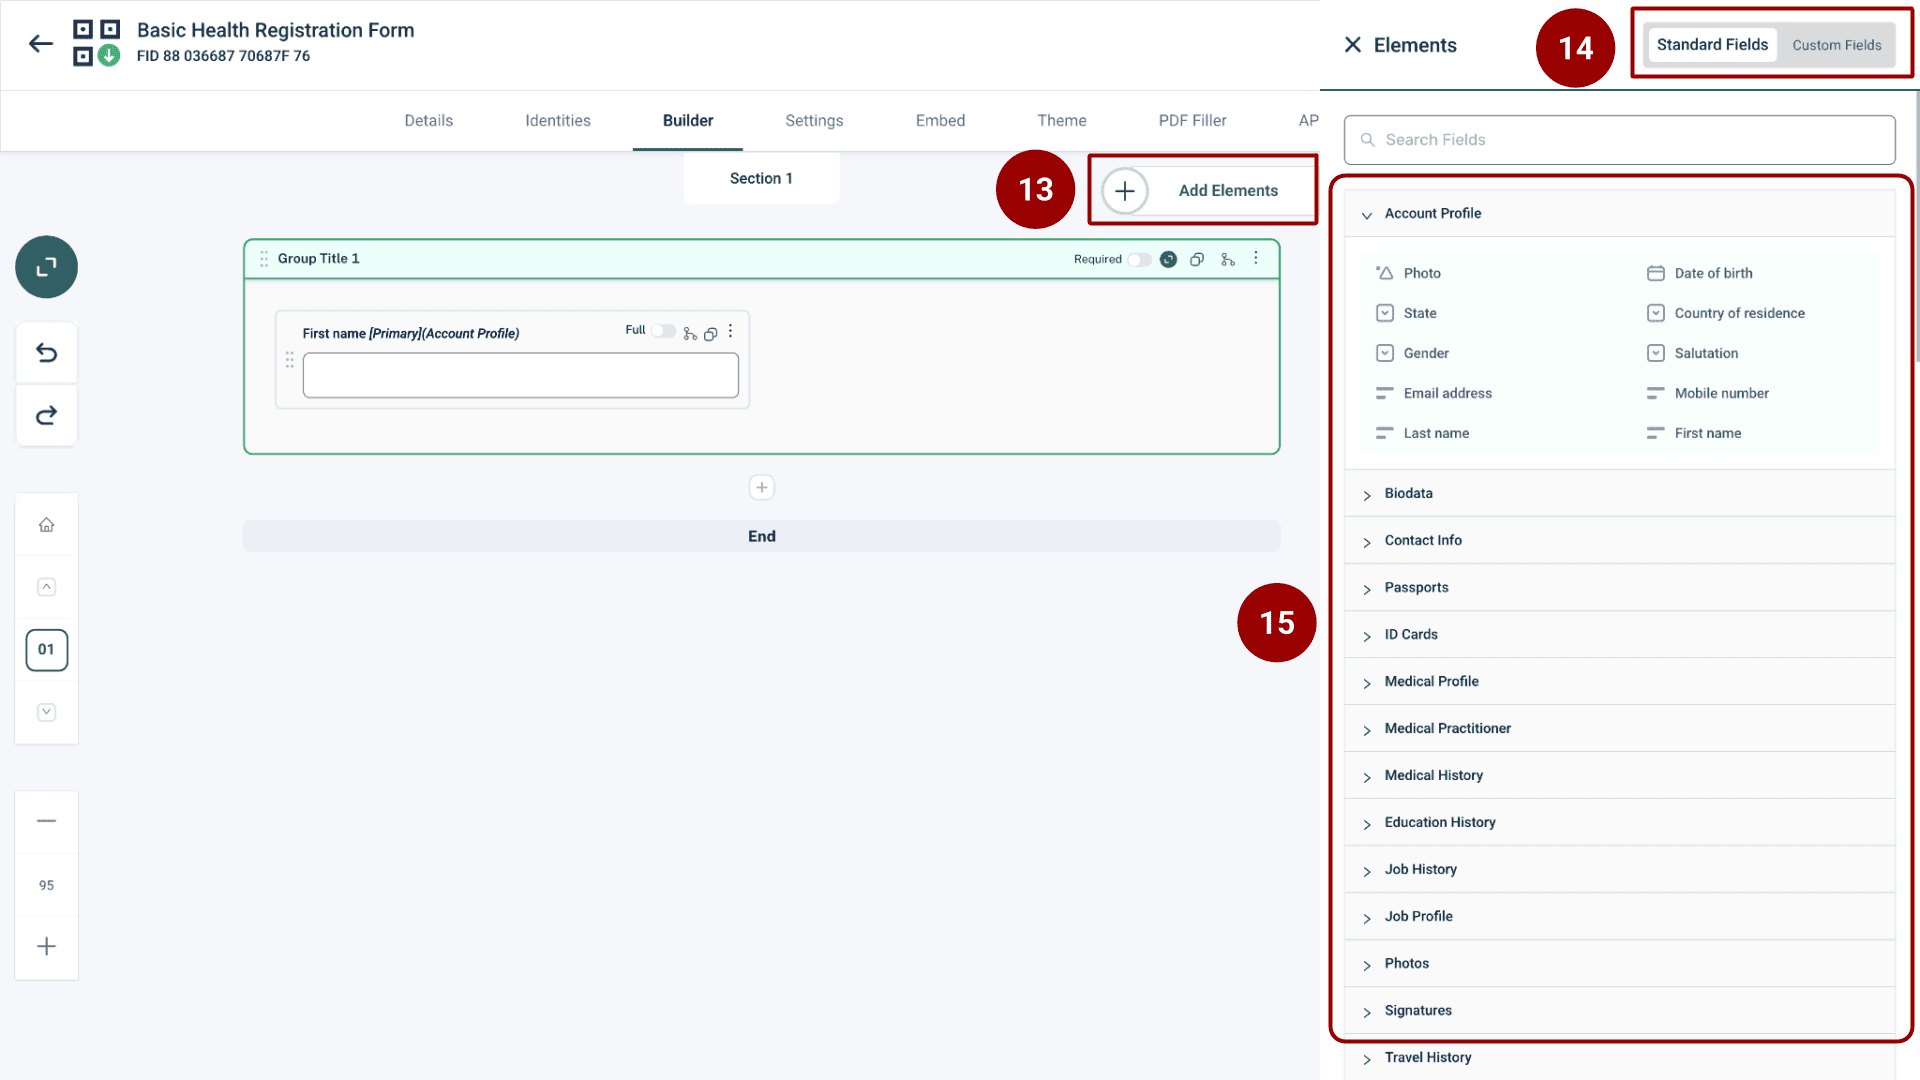
Step 5: Add Form Elements (Fields)
Click the Add Elements button.
The Elements panel on the right displays Standard Fields and Custom Fields.
Drag and drop the necessary input fields (like Text Input, Date Picker, Checkboxes, etc.) onto the form structure.
Ensure all changes are saved once you finish adding fields.
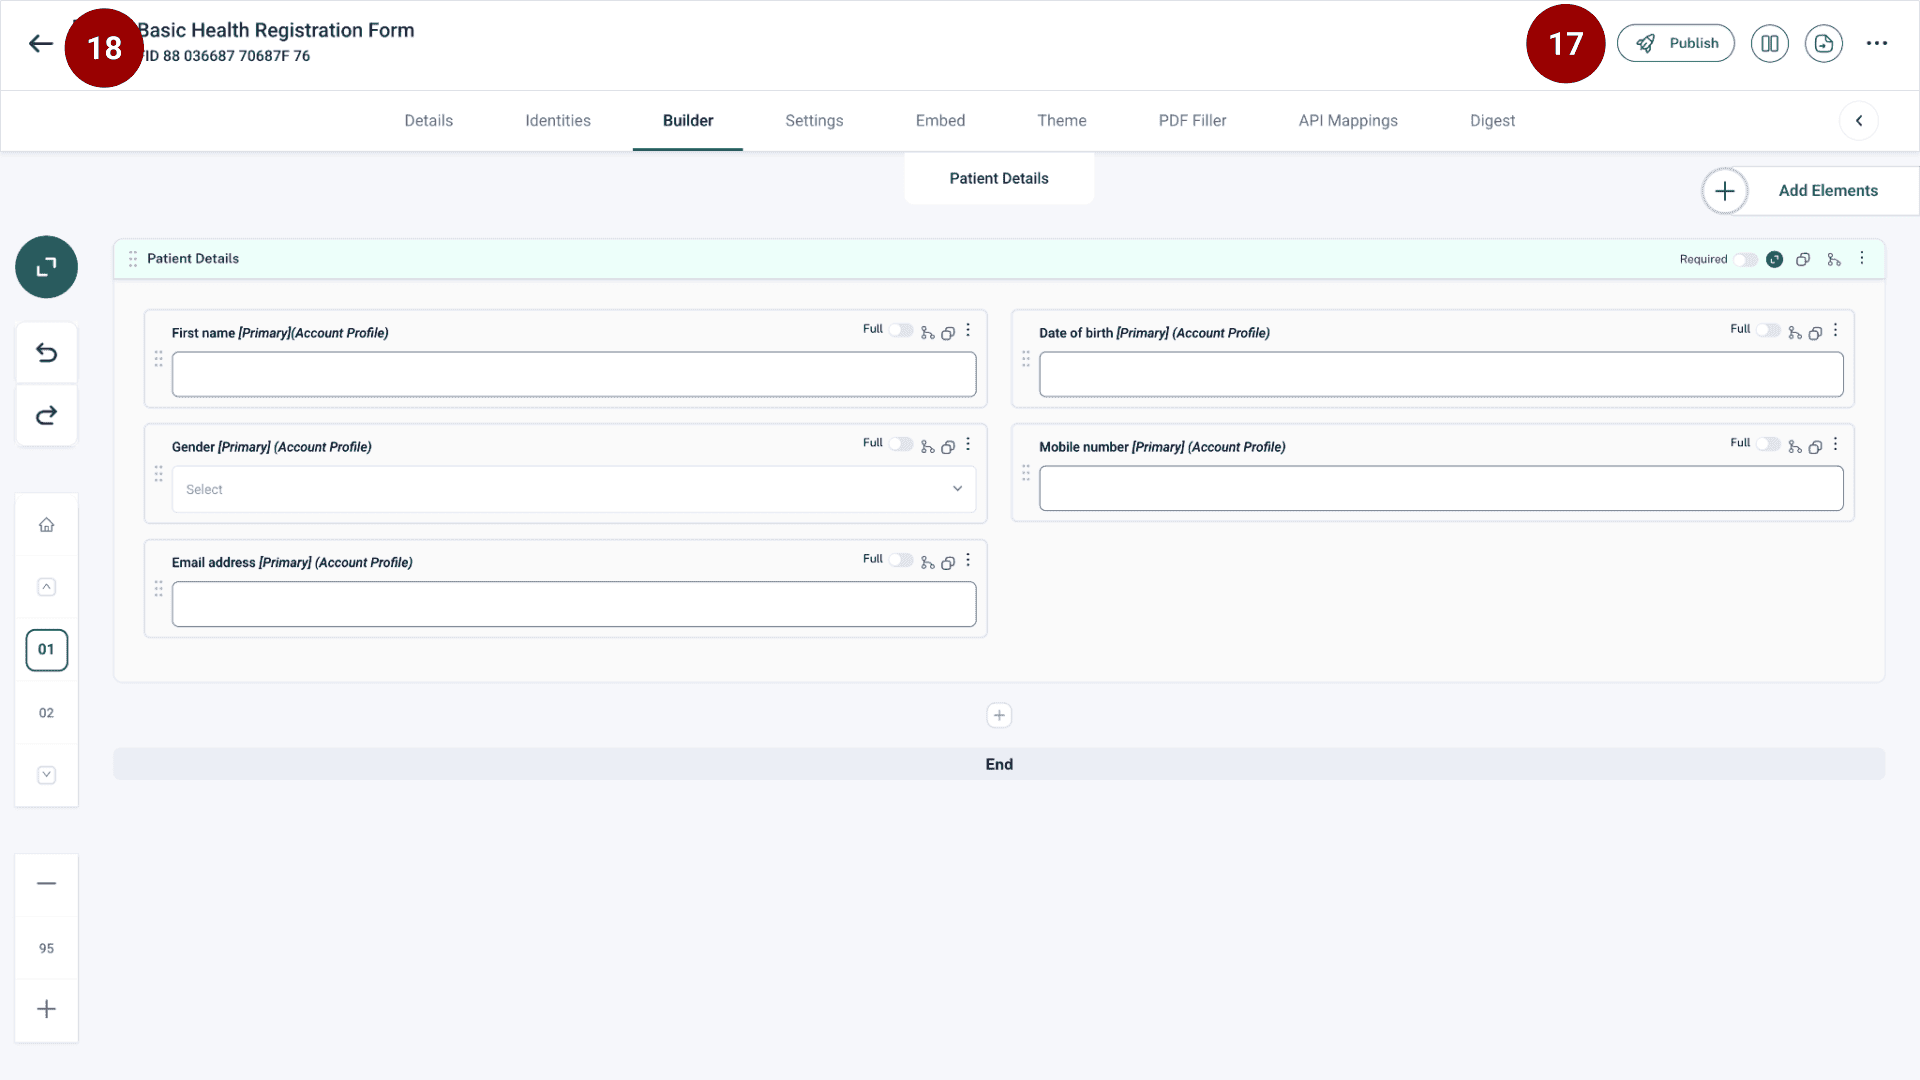
Step 6: Publish the Form
When the form is complete, click the Publish button located in the top navigation bar.
Navigate back to the main menu on the left side.
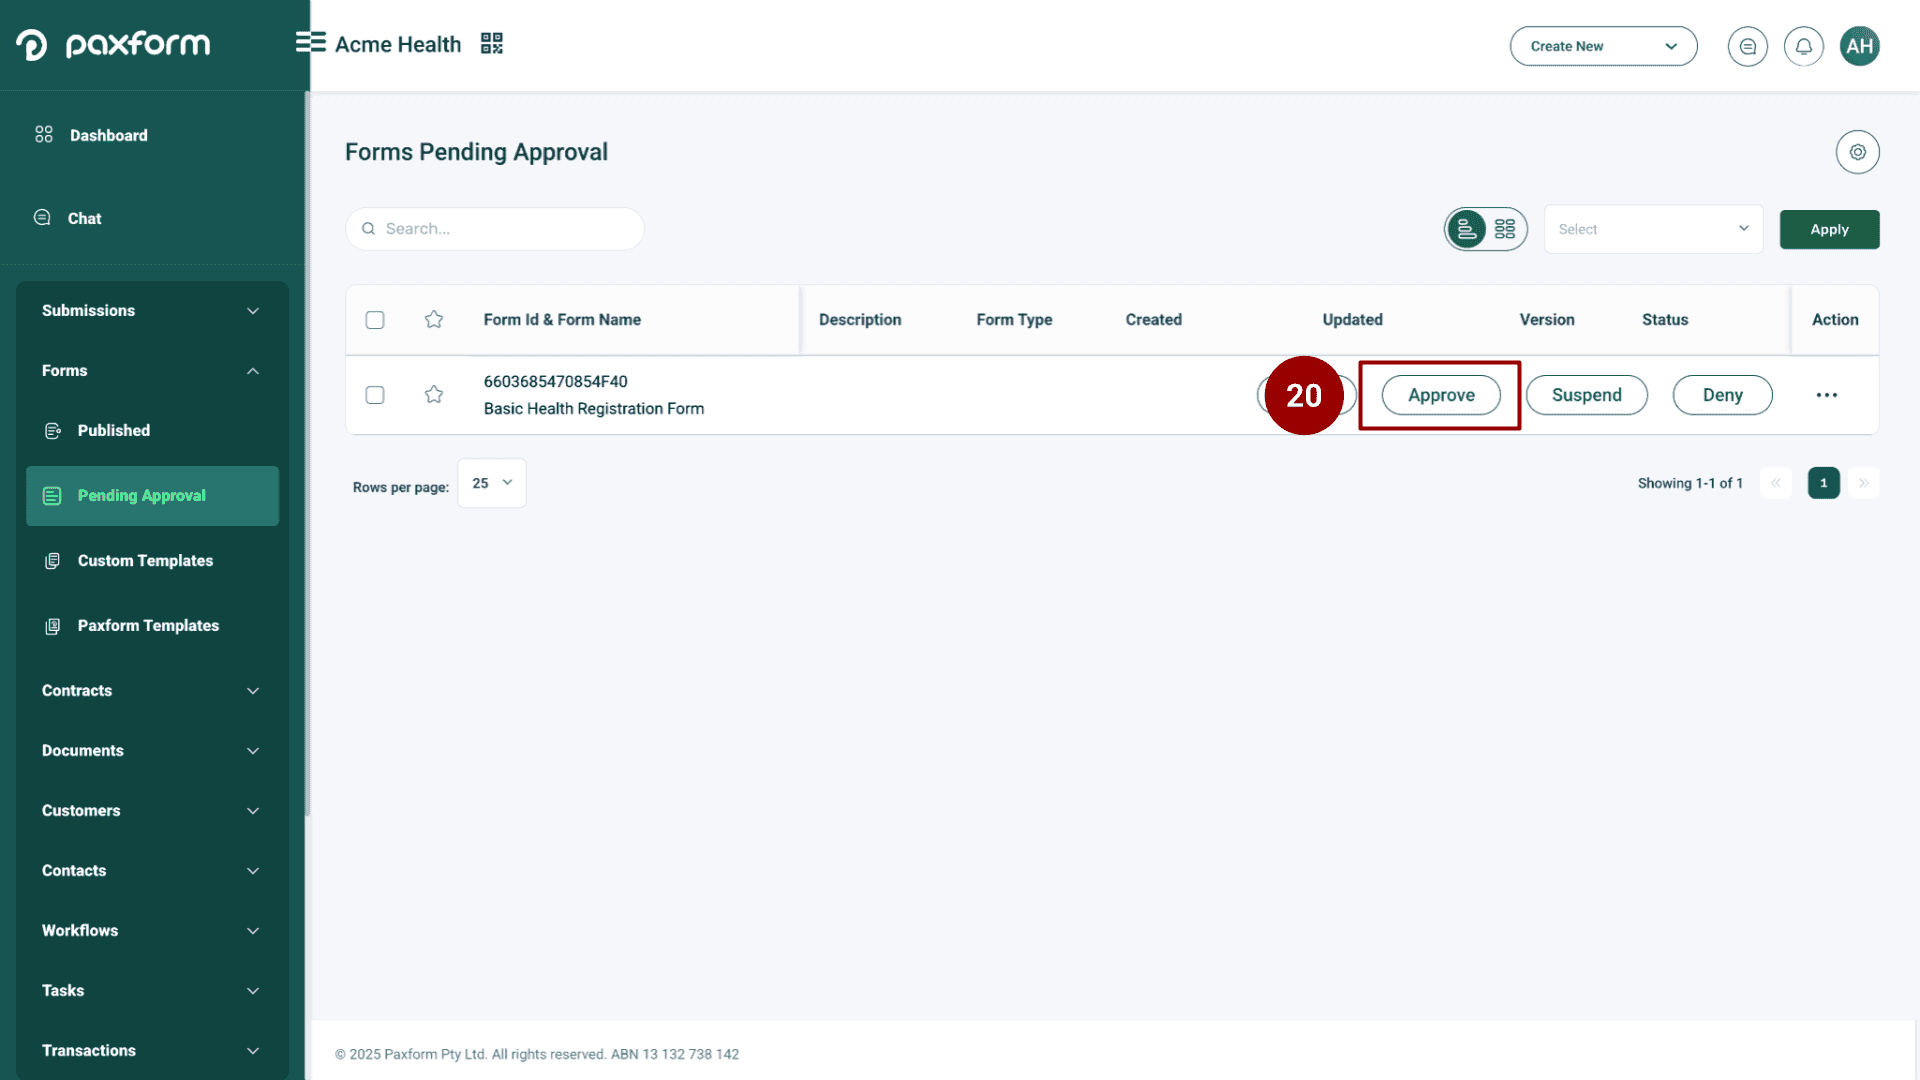
Step 7: Approve the Form
Under Forms, click on Pending Approval.
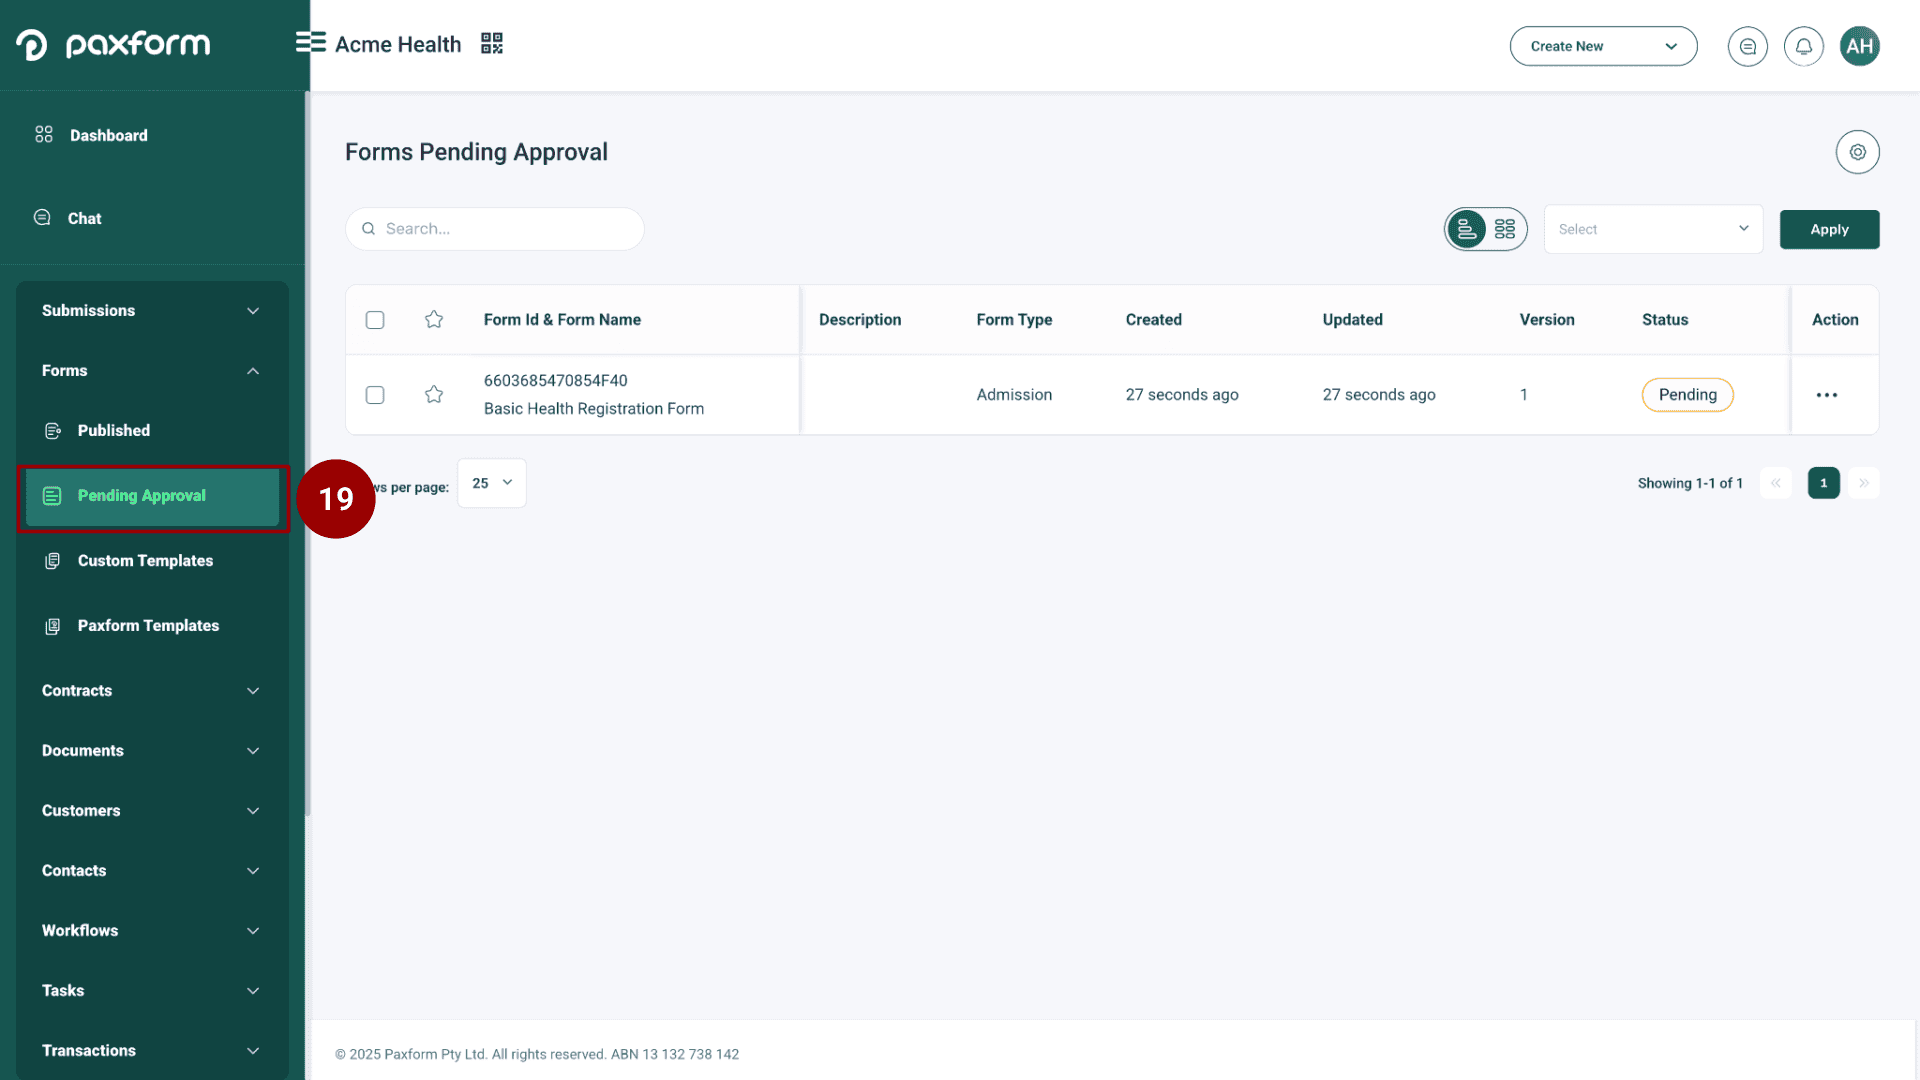
Locate the form you just published and click on the Approve button.
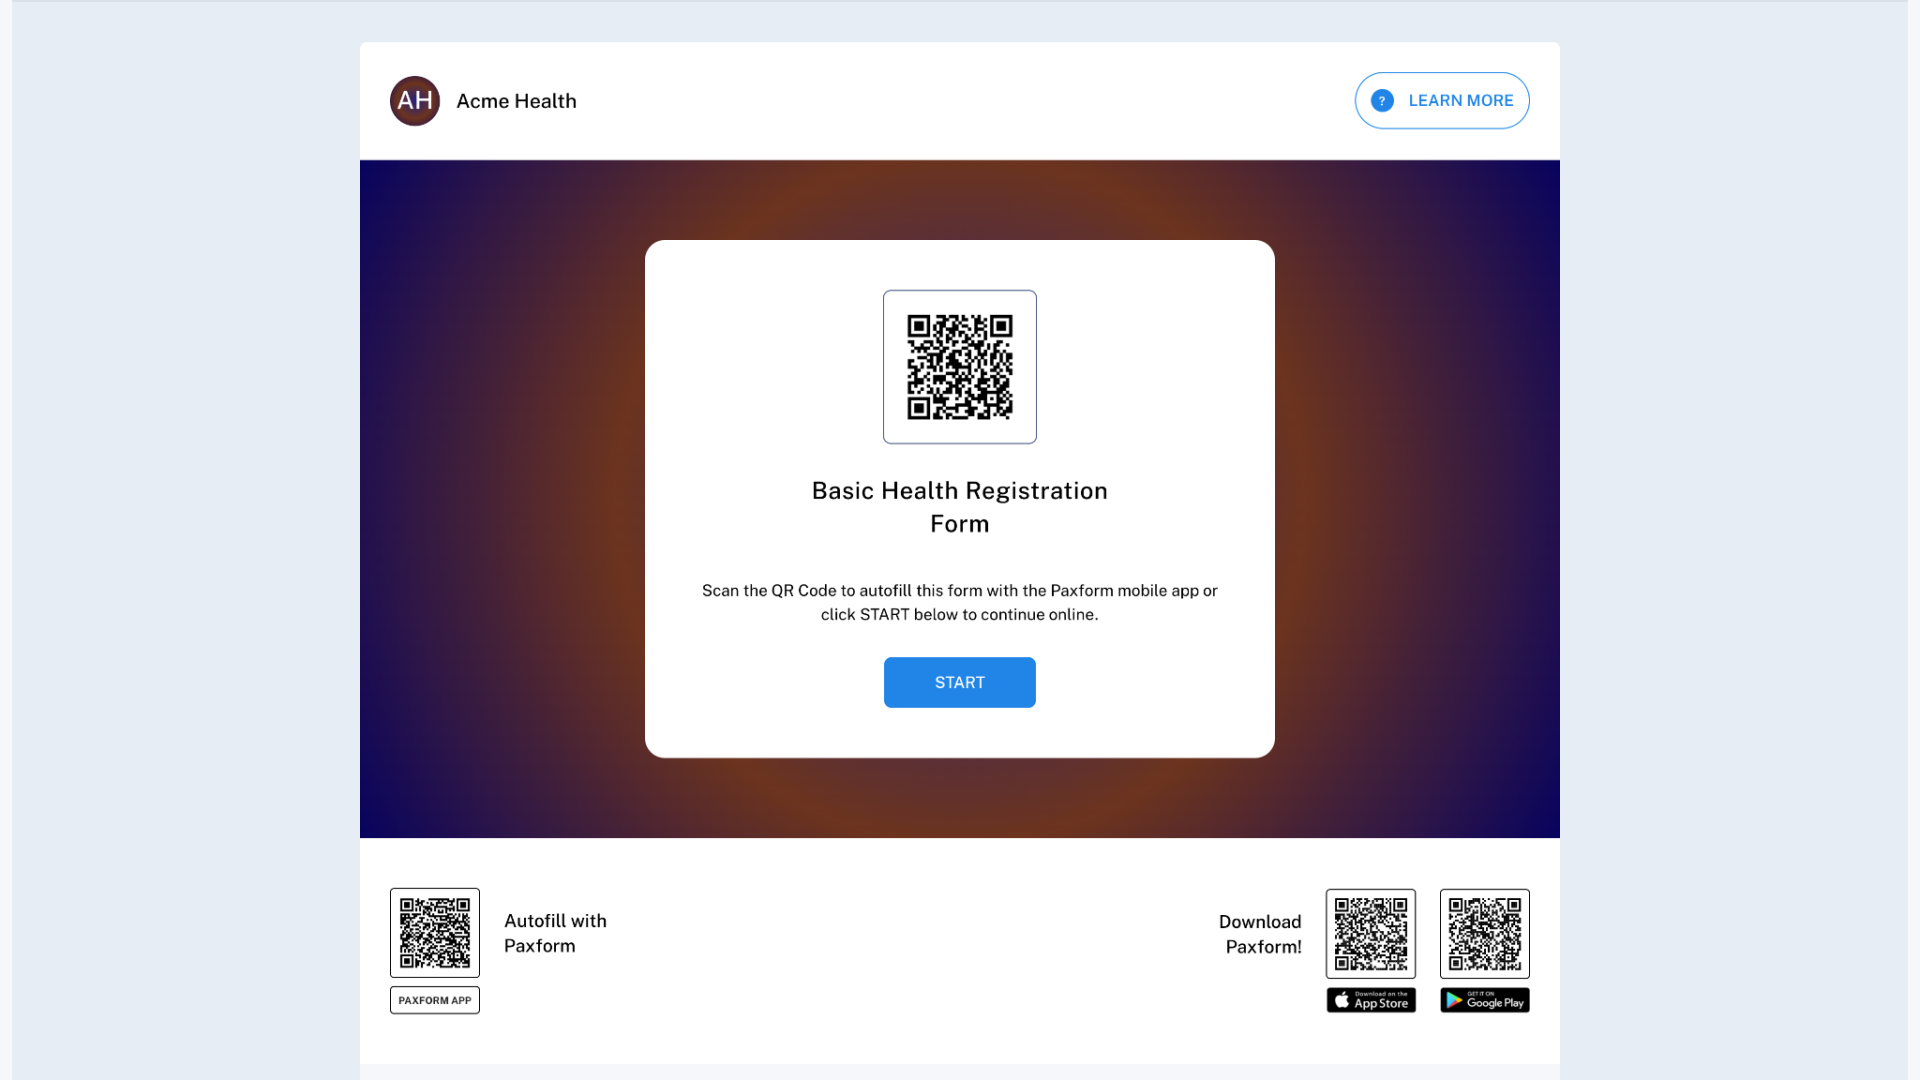
Step 8: View the Live Form (Web Form)
Once approved, go to the Published forms list under the Forms menu.
Find your approved form in the list.
Click the Web Form option to view the live, accessible form.