This guide details the process for quickly creating a form by importing an existing form structure via a JSON file and then publishing it.
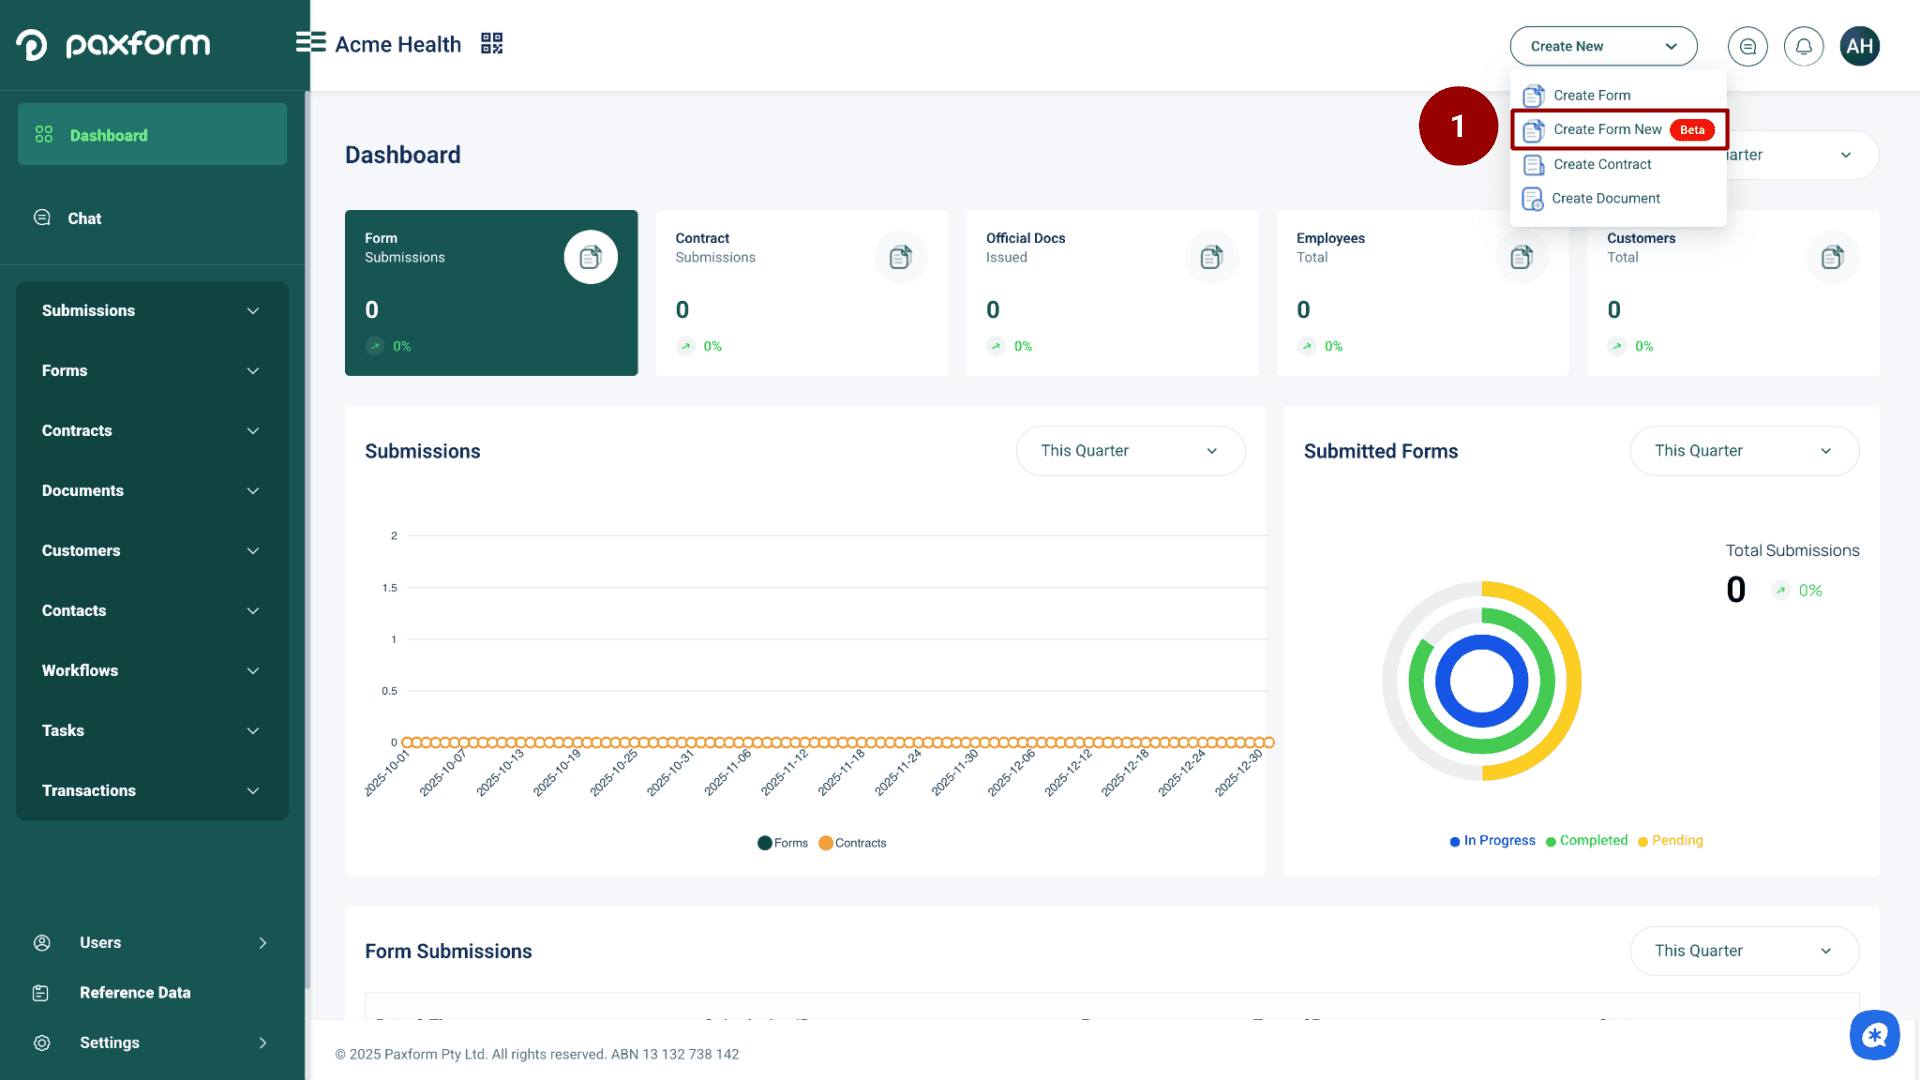
Step 1: Start the New Form Creation
Click the option to Create New Form (Beta).
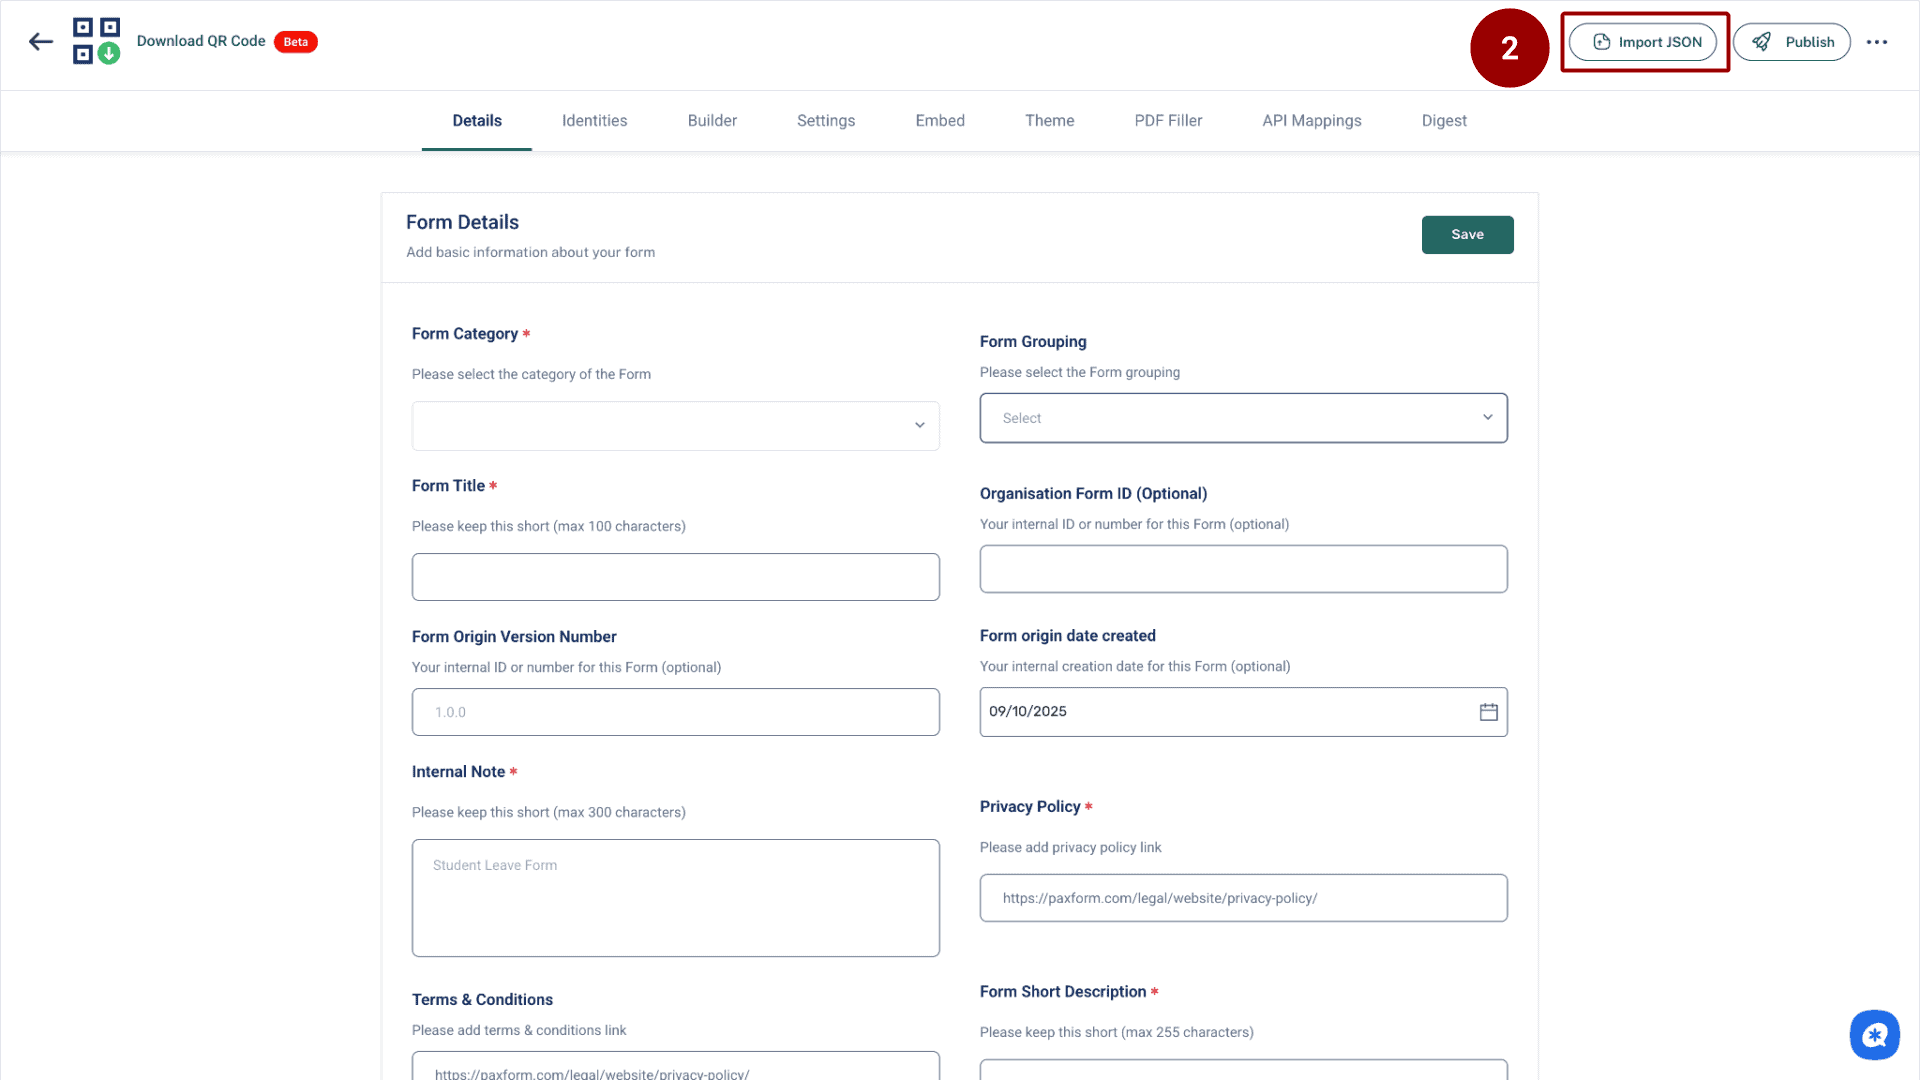
Step 2: Import the JSON File
Click the Import JSON button.
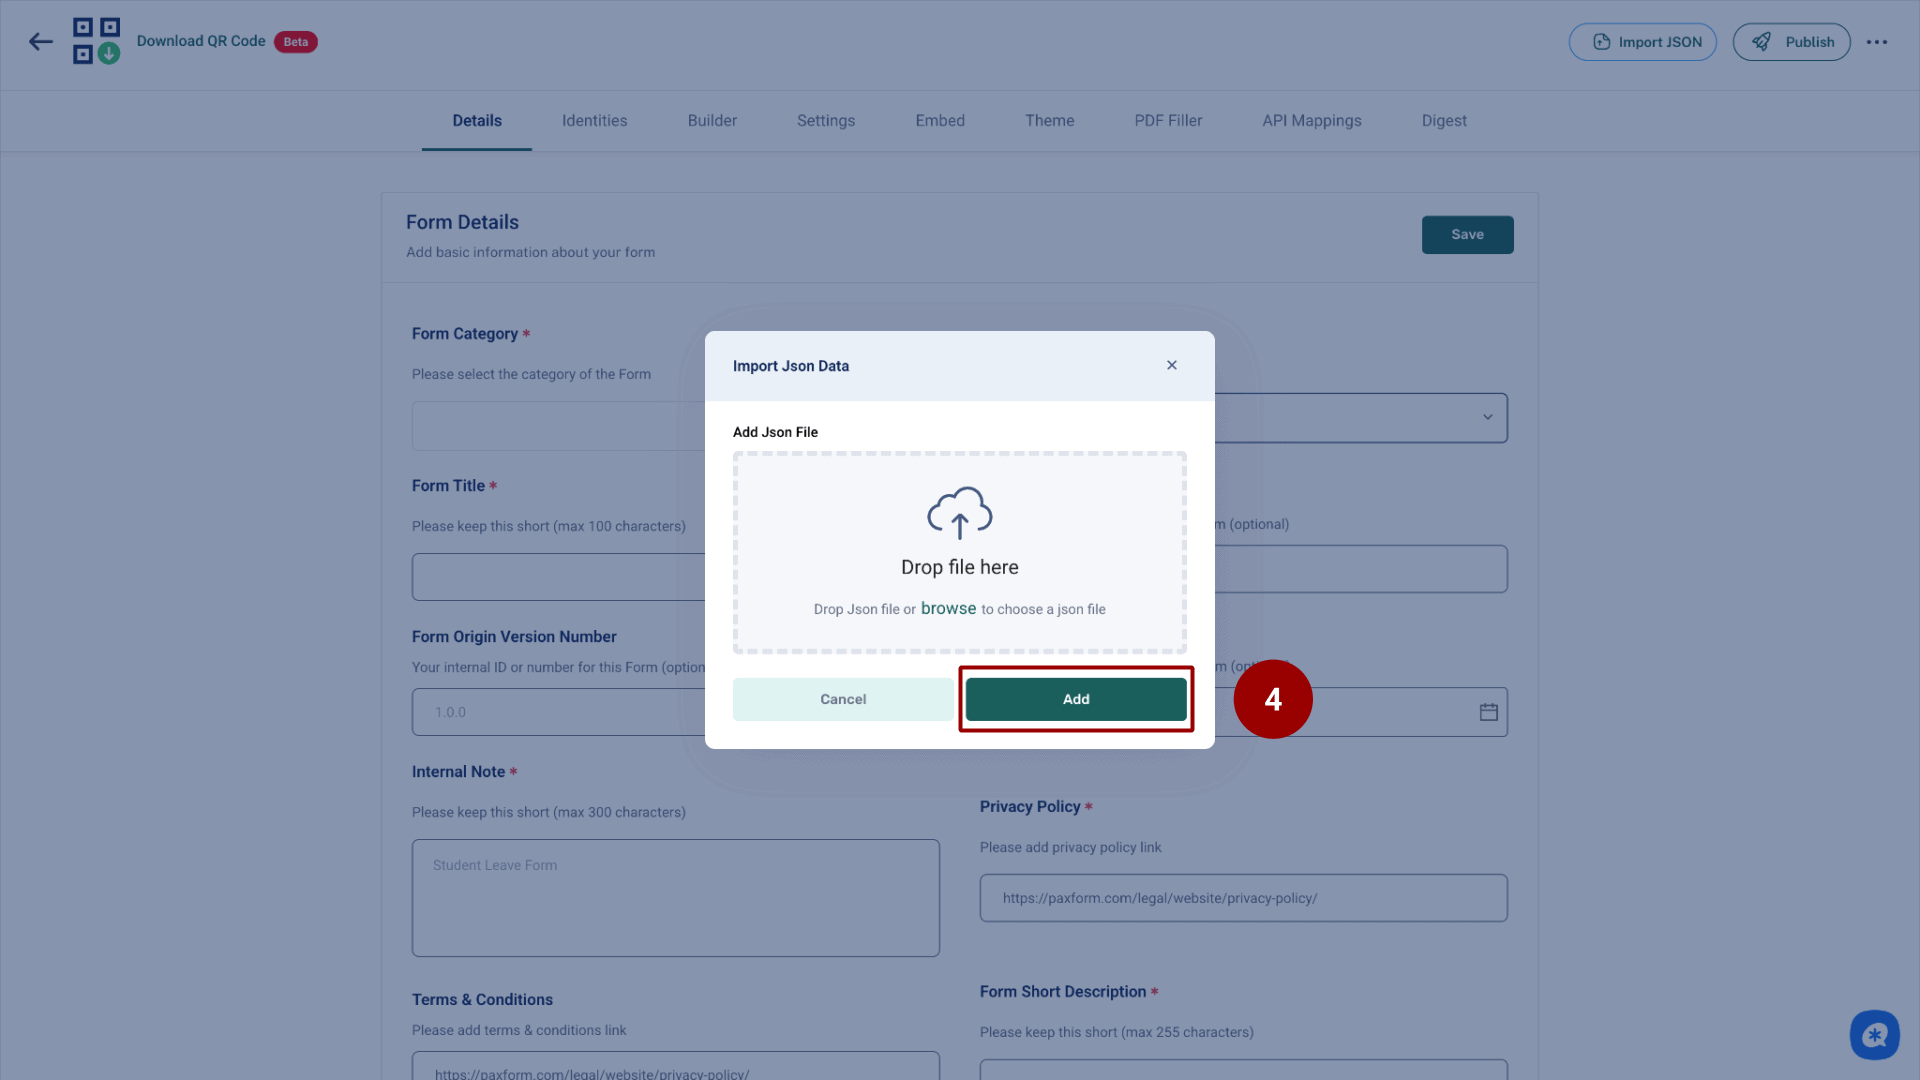
A pop-up window titled Import Json Data will appear. Click Browse or Drop file here to select your JSON file from your local machine.
After selecting the file, click Add to upload the form structure.
Step 3: Complete Form Details and Save
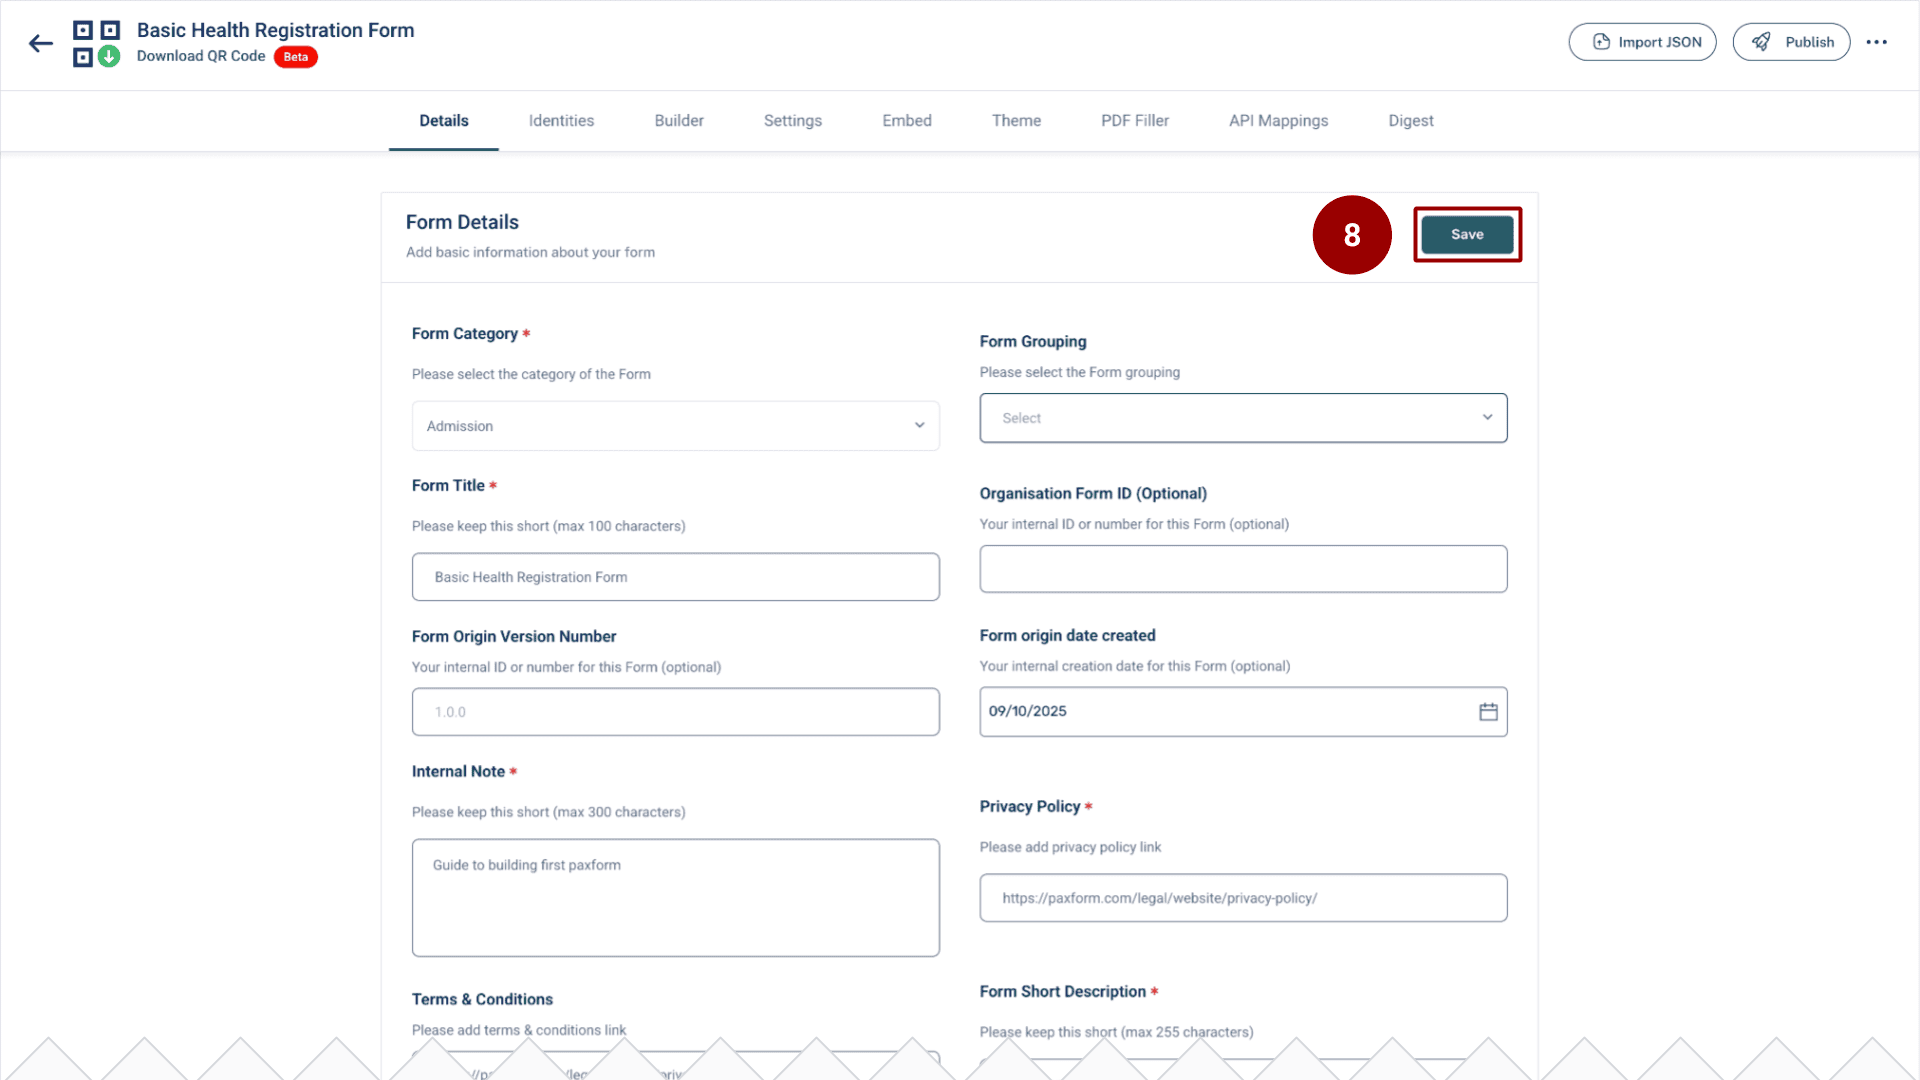
The imported JSON file will populate the sections and fields of the form. You now need to confirm the metadata.
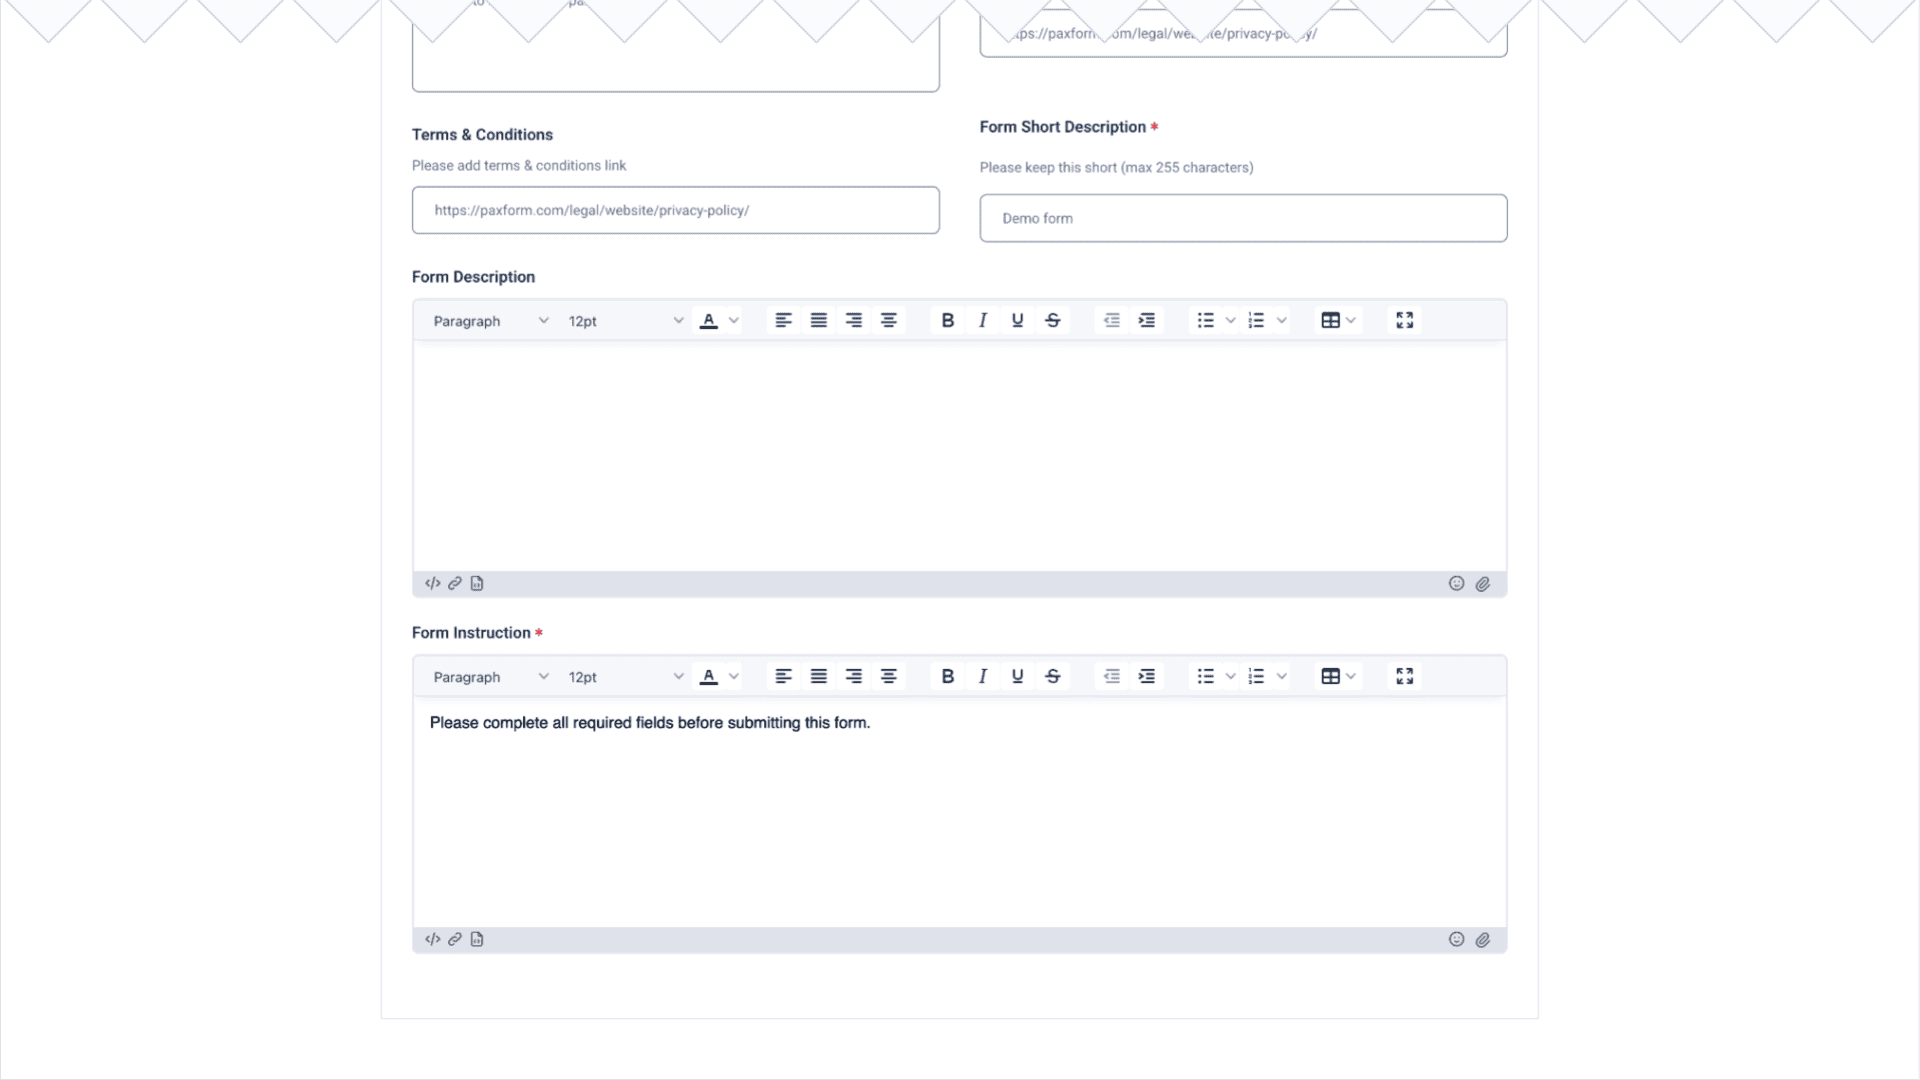
Review and fill out any missing required fields on the Details screen (Form Title, Form Category, etc.).
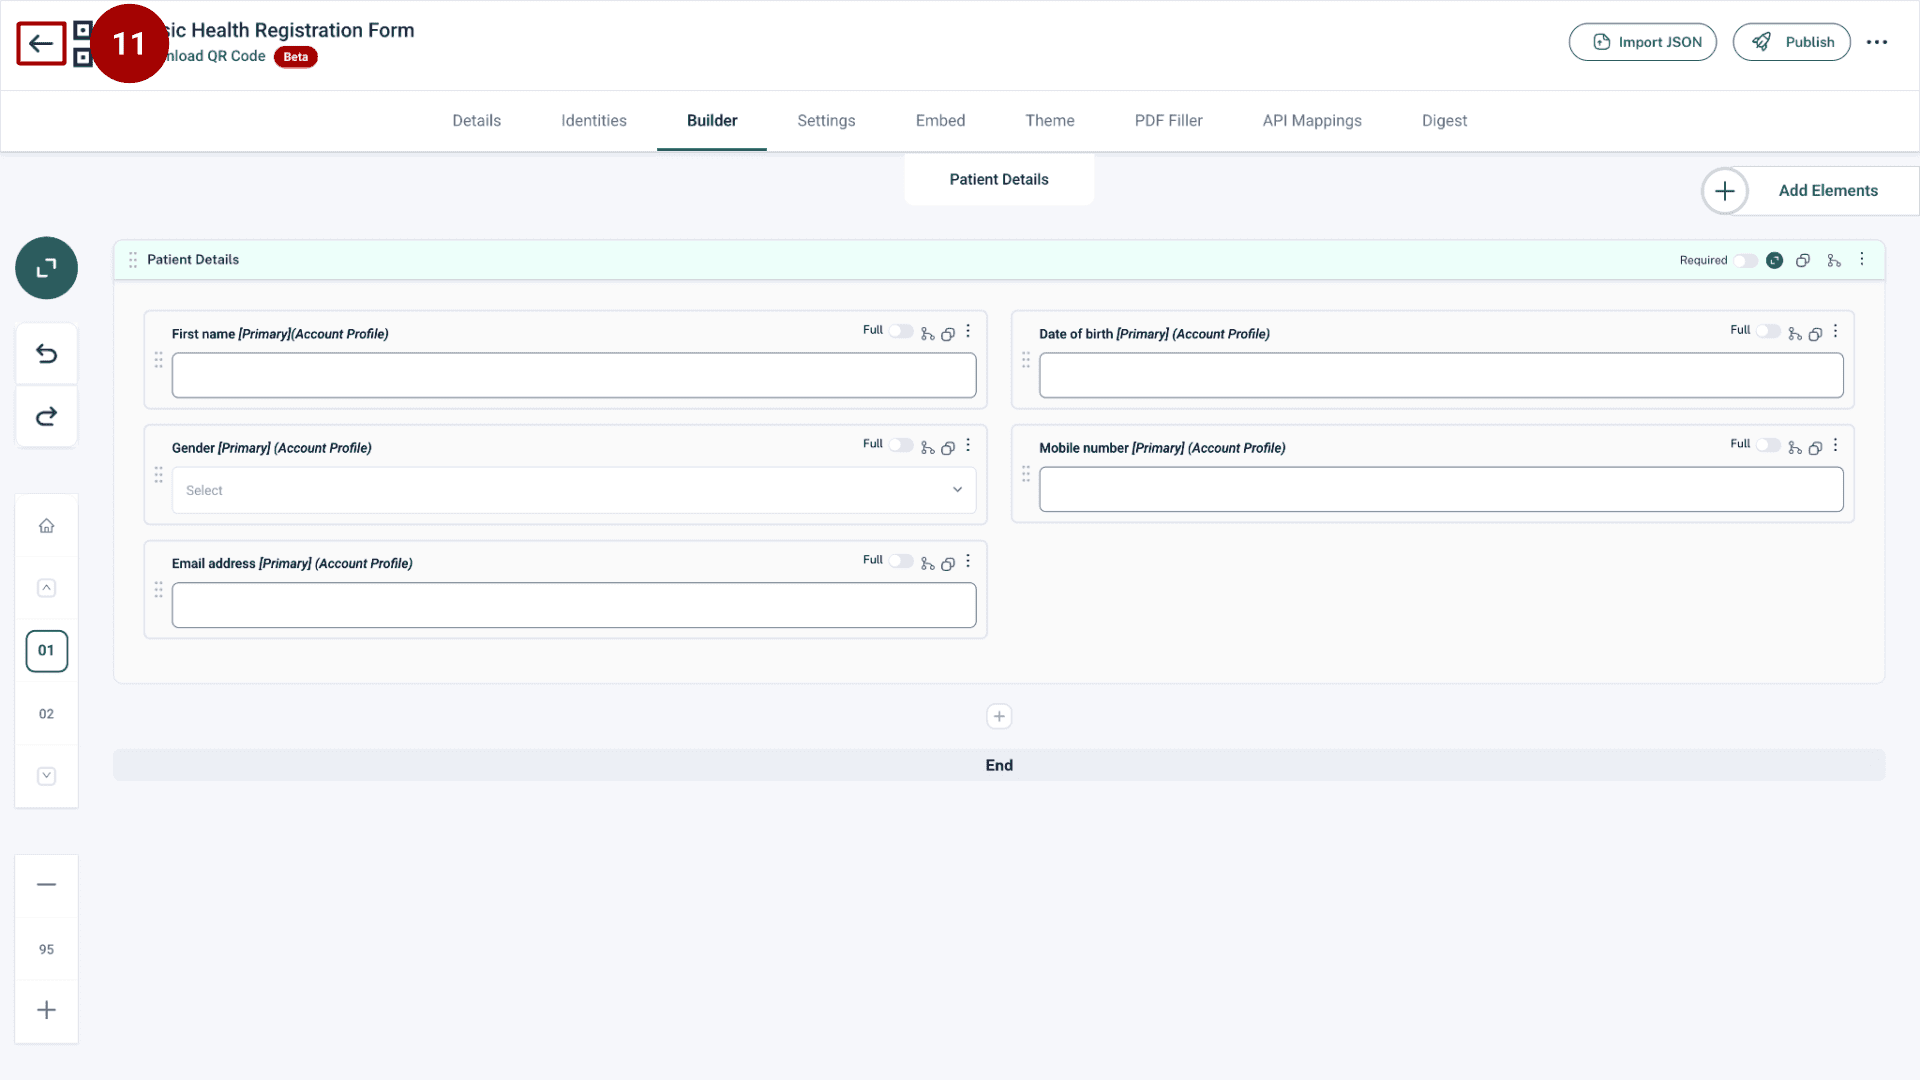
Review the form content in the Builder tab to ensure the JSON imported correctly.
Click Save (in the Details tab) or let the system autosave your changes.
Step 4: Publish for Approval
Once you are satisfied with the imported form's details and structure, you can initiate the approval process.
Click the Publish button located in the top navigation bar.

Step 7: Approve the Form
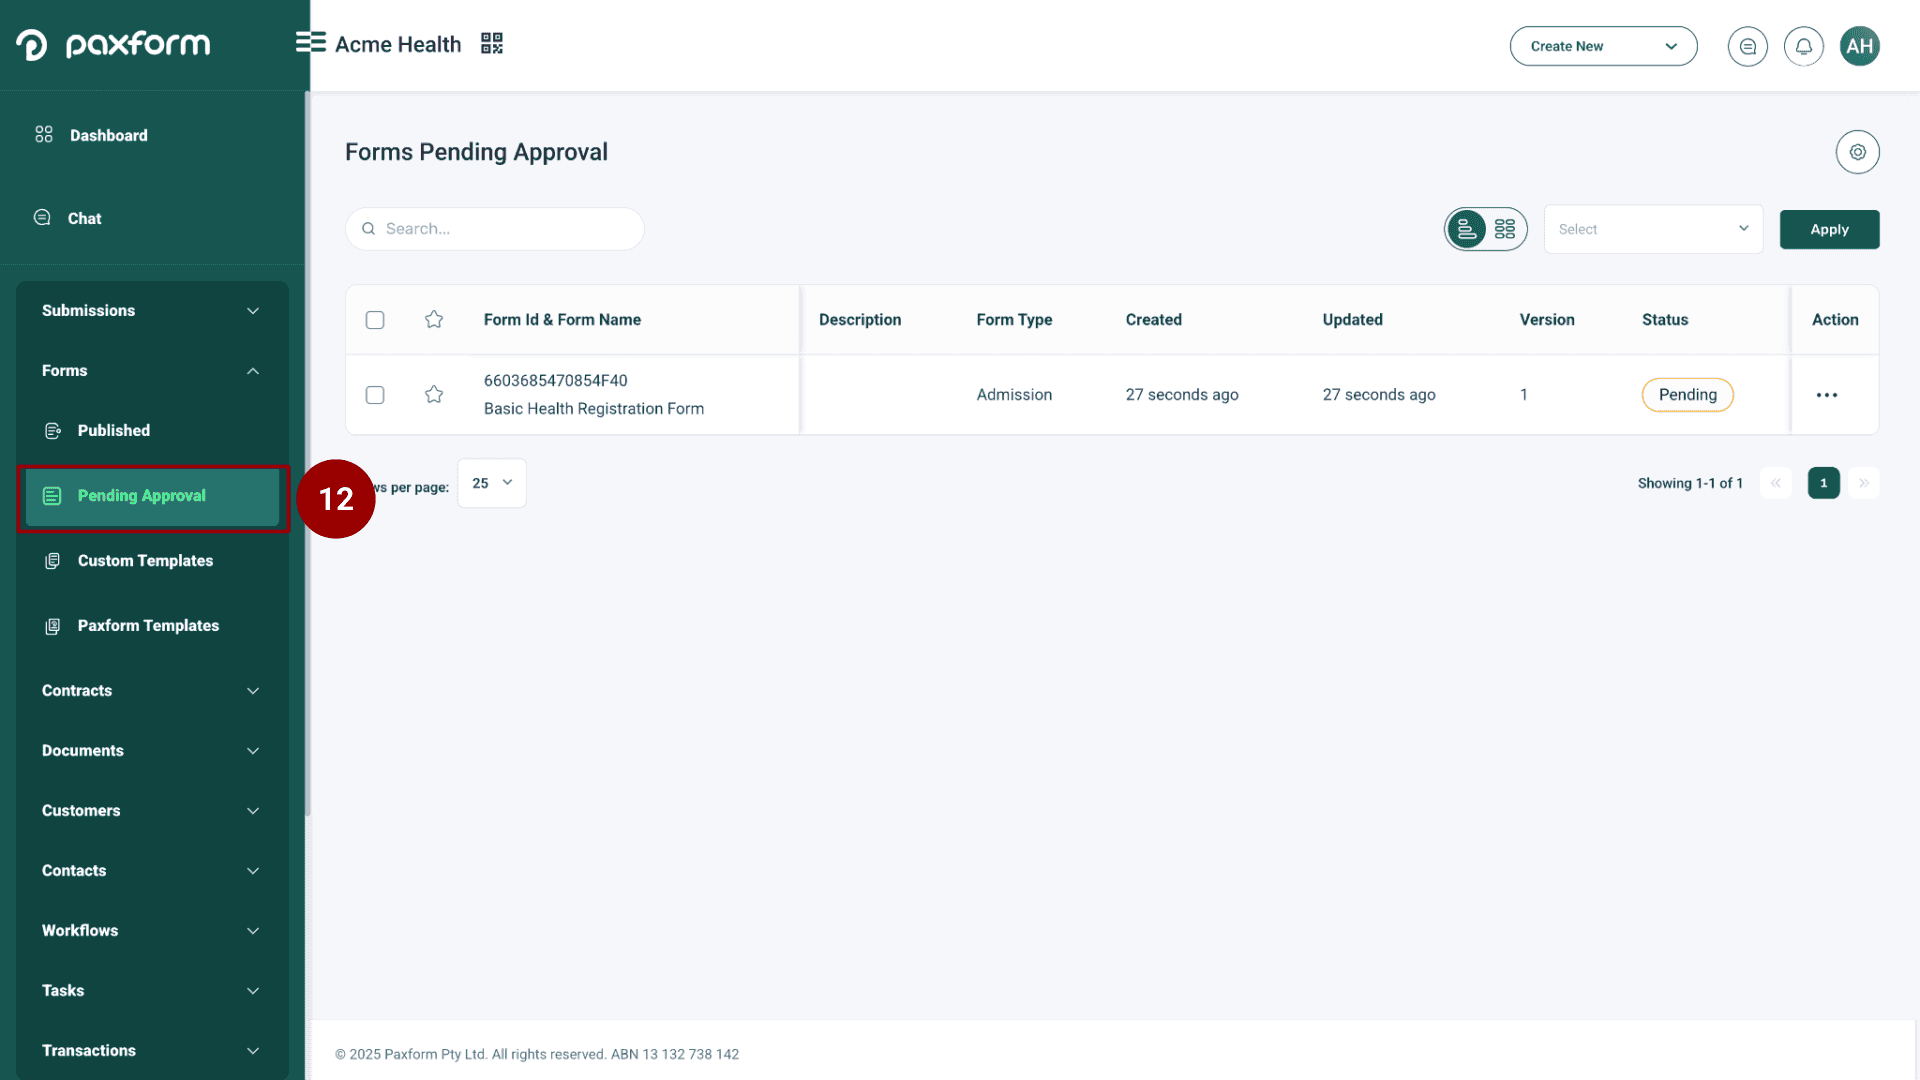
Navigate back to the main menu on the left side.
Under Forms, click on Pending Approval.
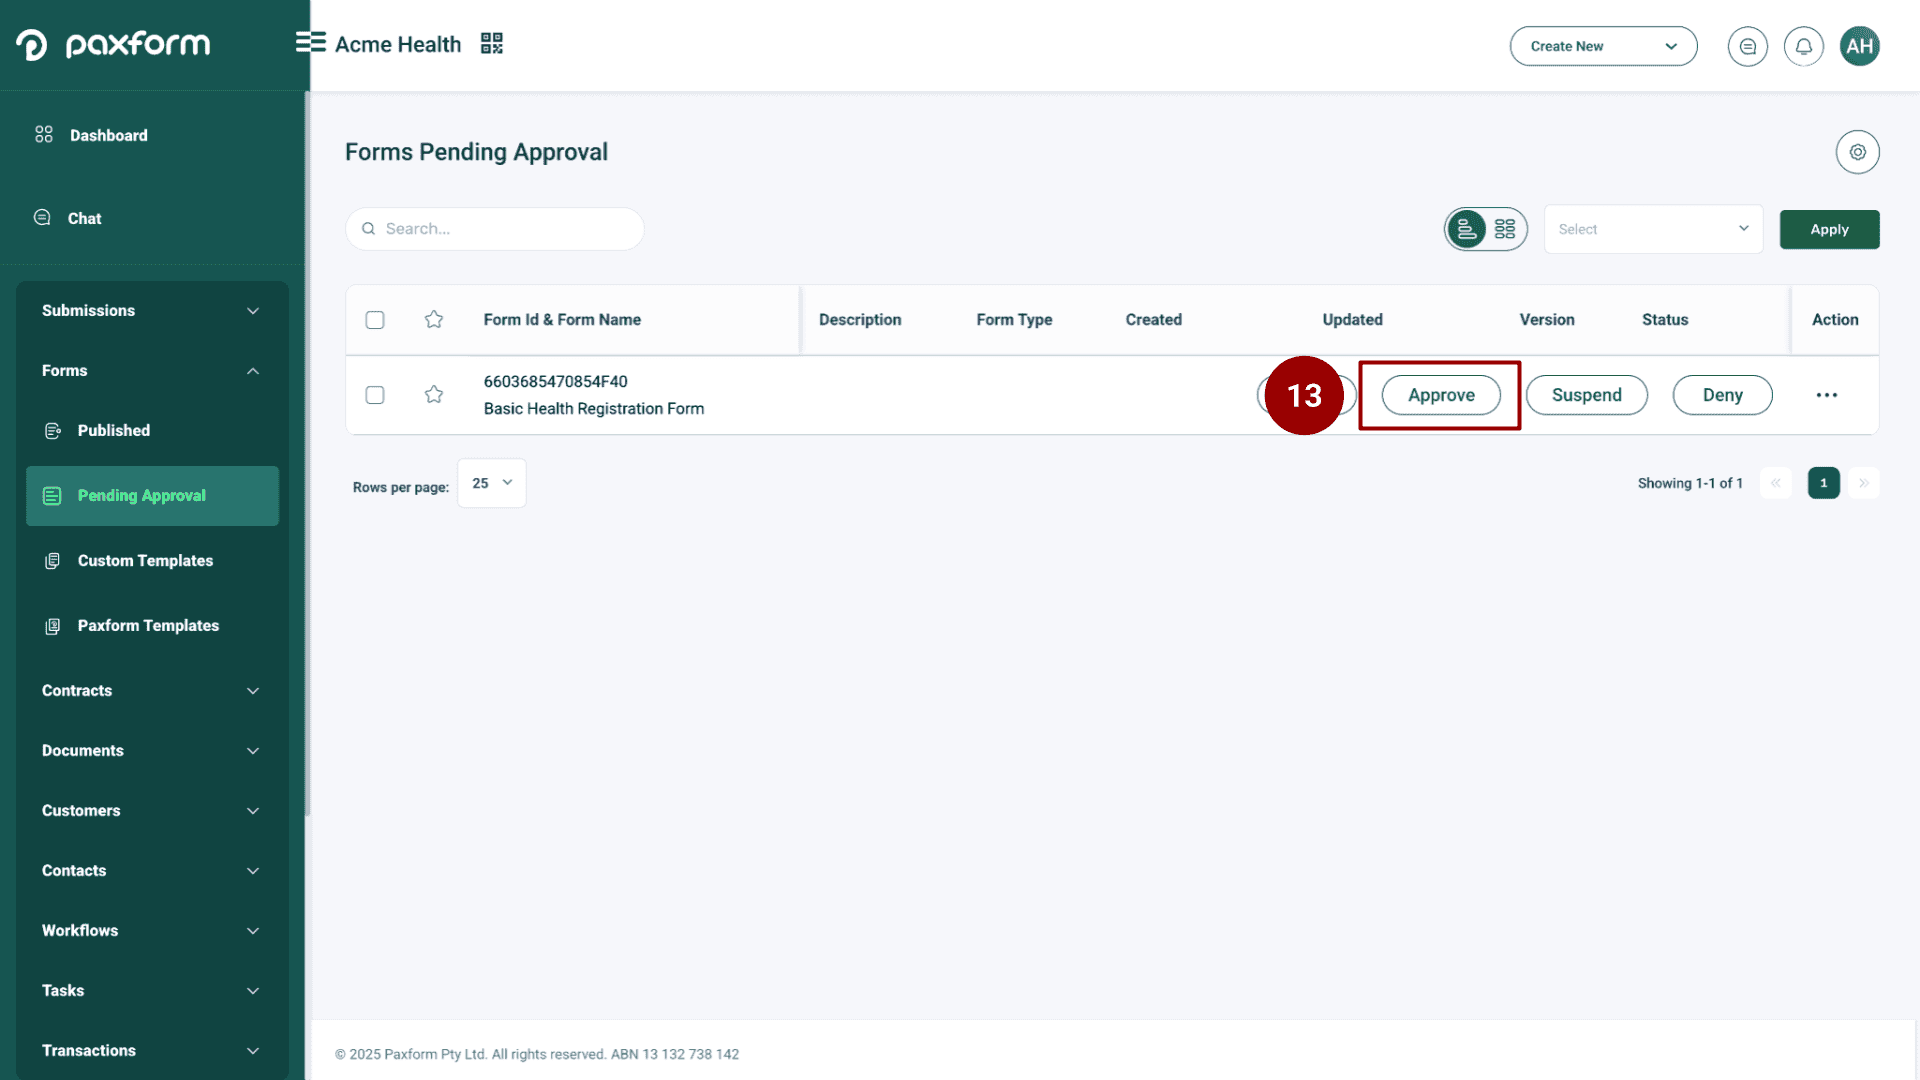
Locate the form you just published and click on the Approve button.
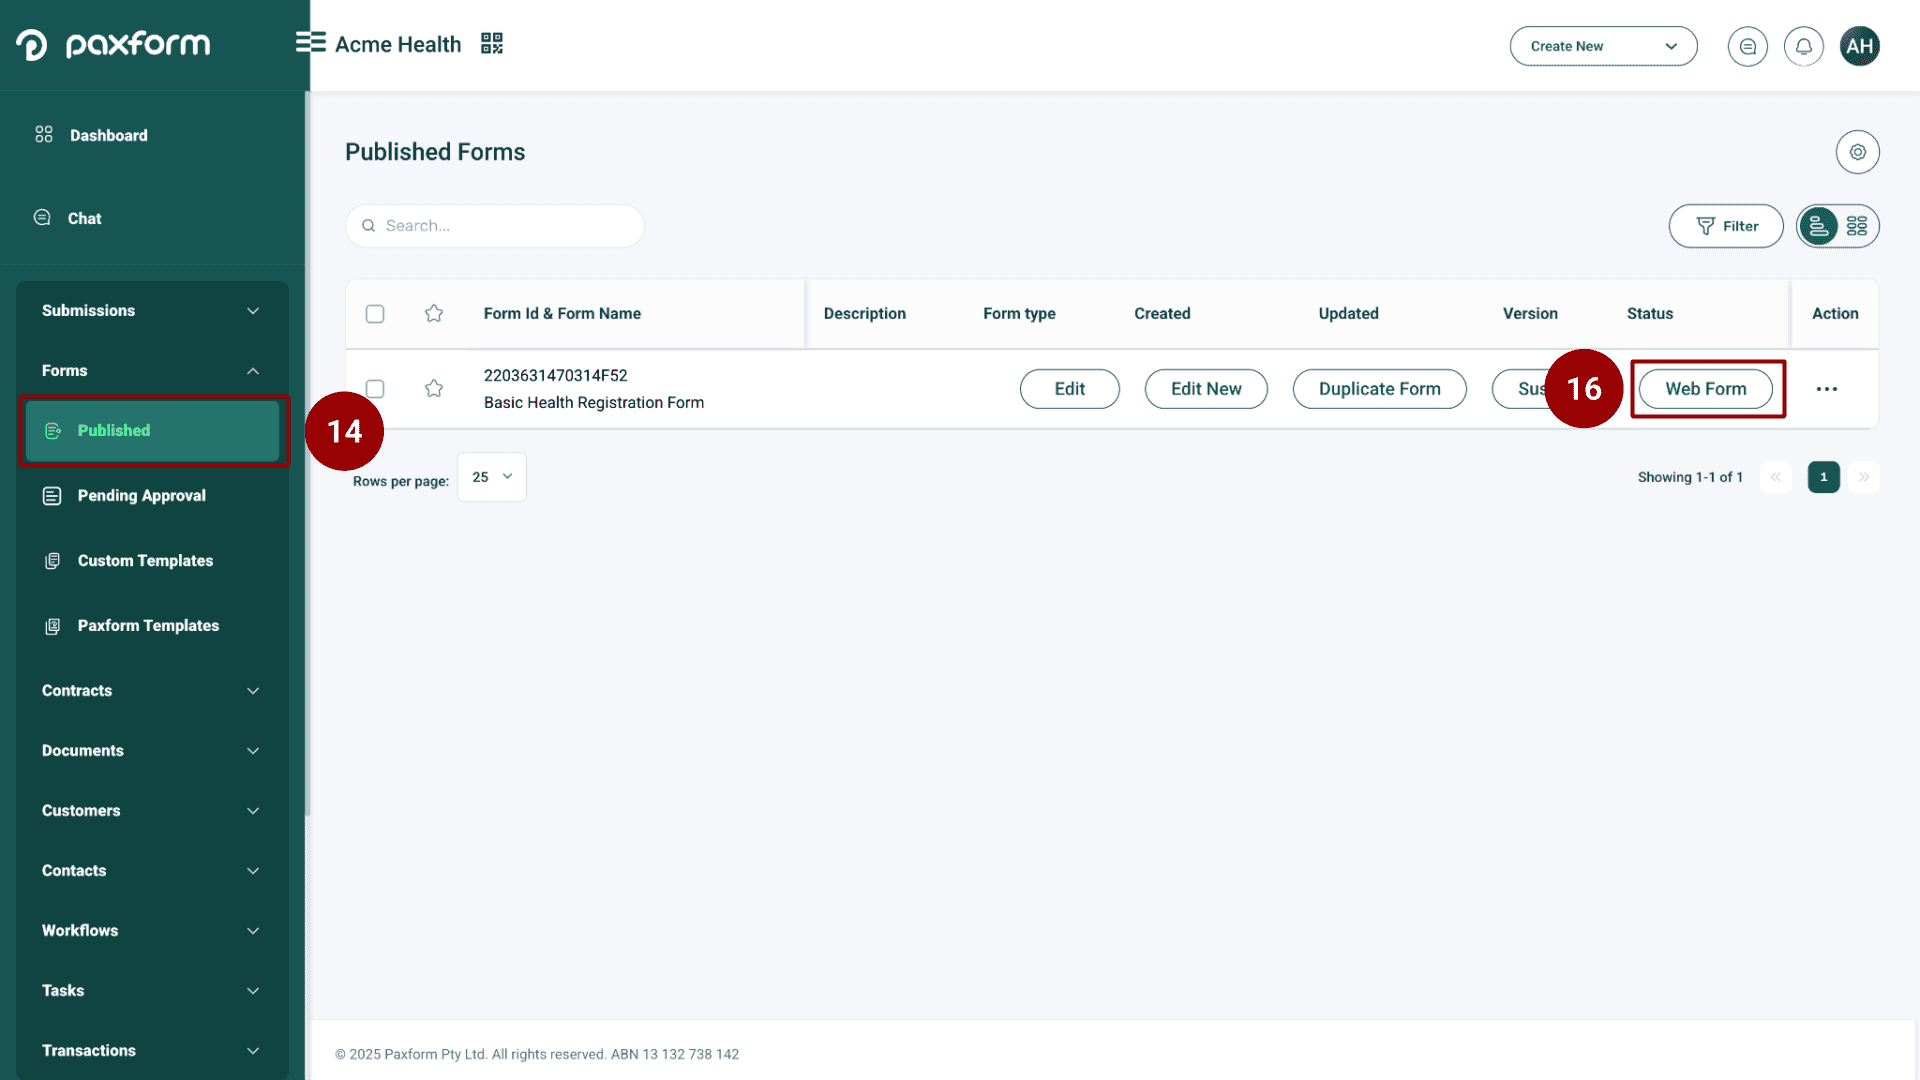
Step 8: View the Live Form (Web Form)
Once approved, go to the Published forms list under the Forms menu.
Find your approved form in the list.
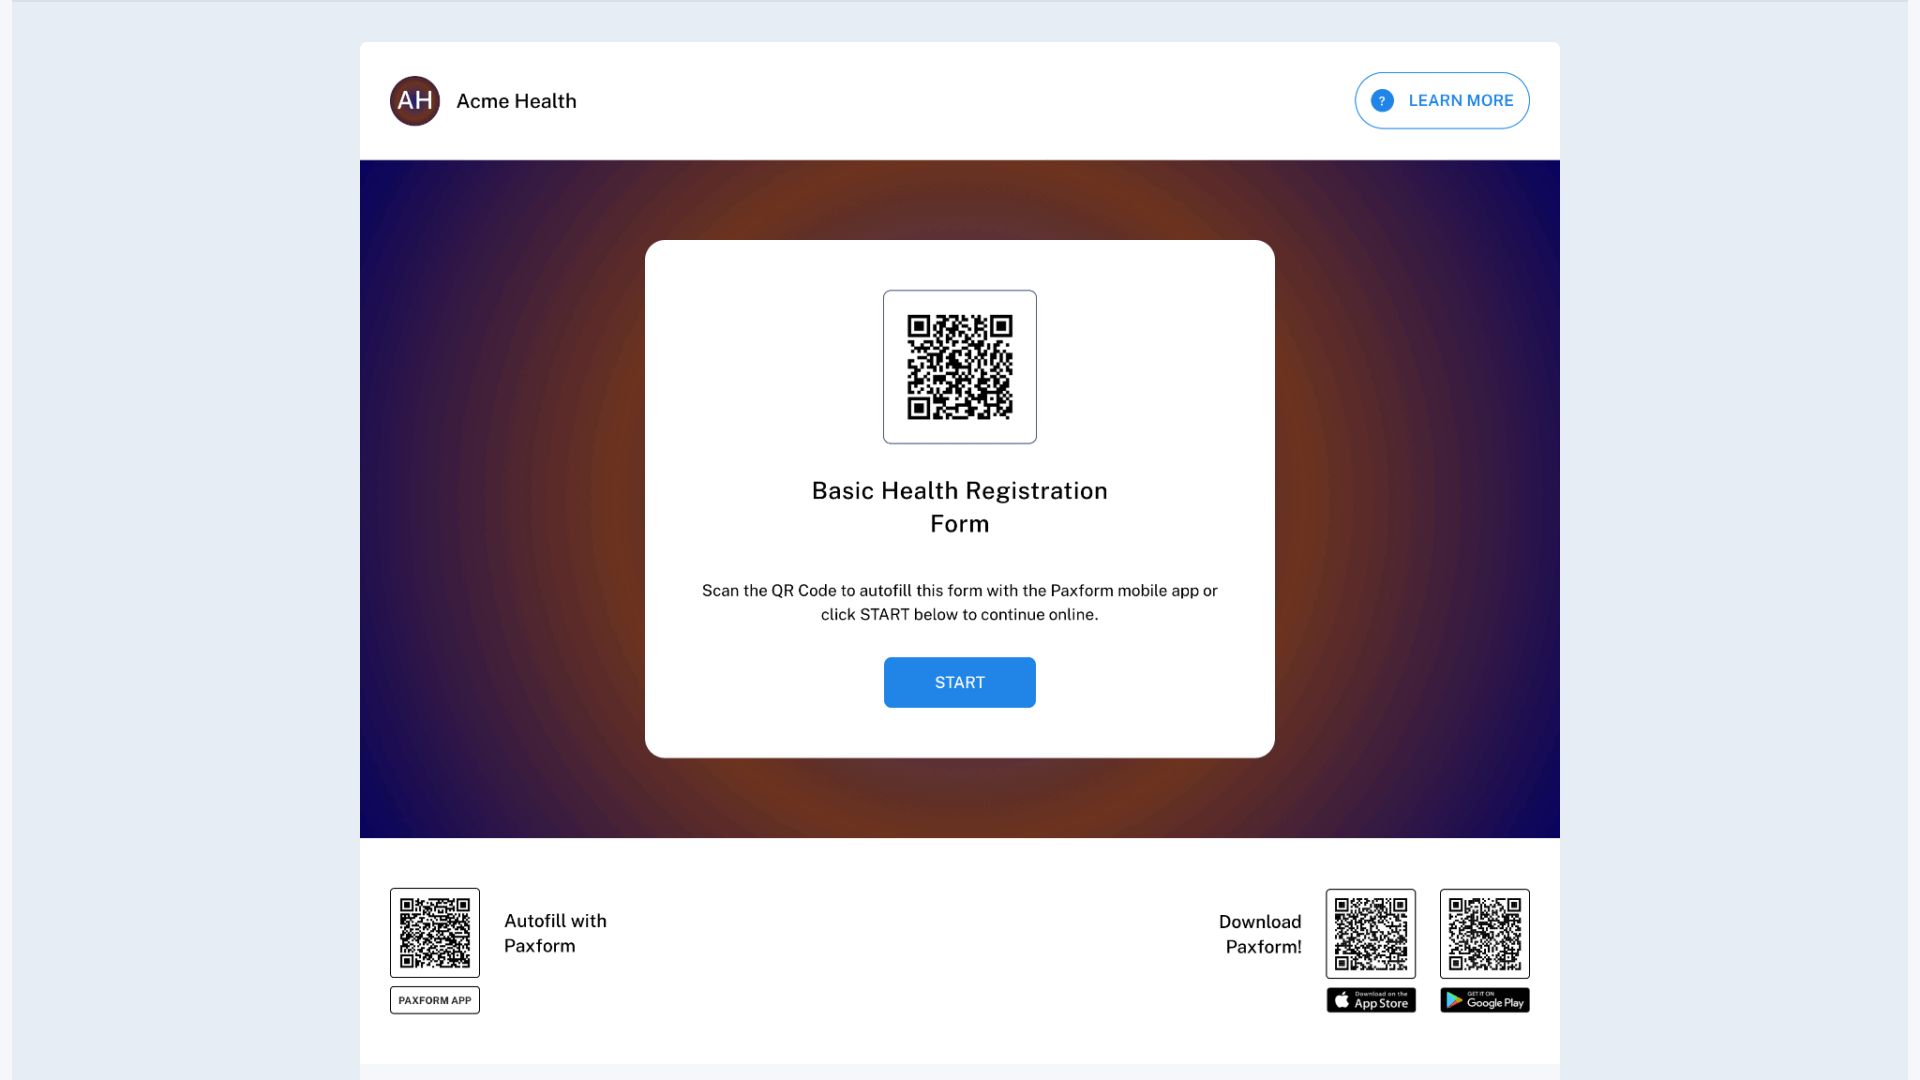
Click the Web Form option to view the live, accessible form.